Corry switches
How to make a corry switch
Most Boeing 767 corry switches have the same size. I make these corry switches myself. For that I have an STL file with a block. That block can hold 2×2 LEDs. A plate is placed on that block, on which the text or image is placed. All lettering for the complete cockpit of the 767 can be downloaded here as a PDF. Below you will find step by step how I make the corry switches.
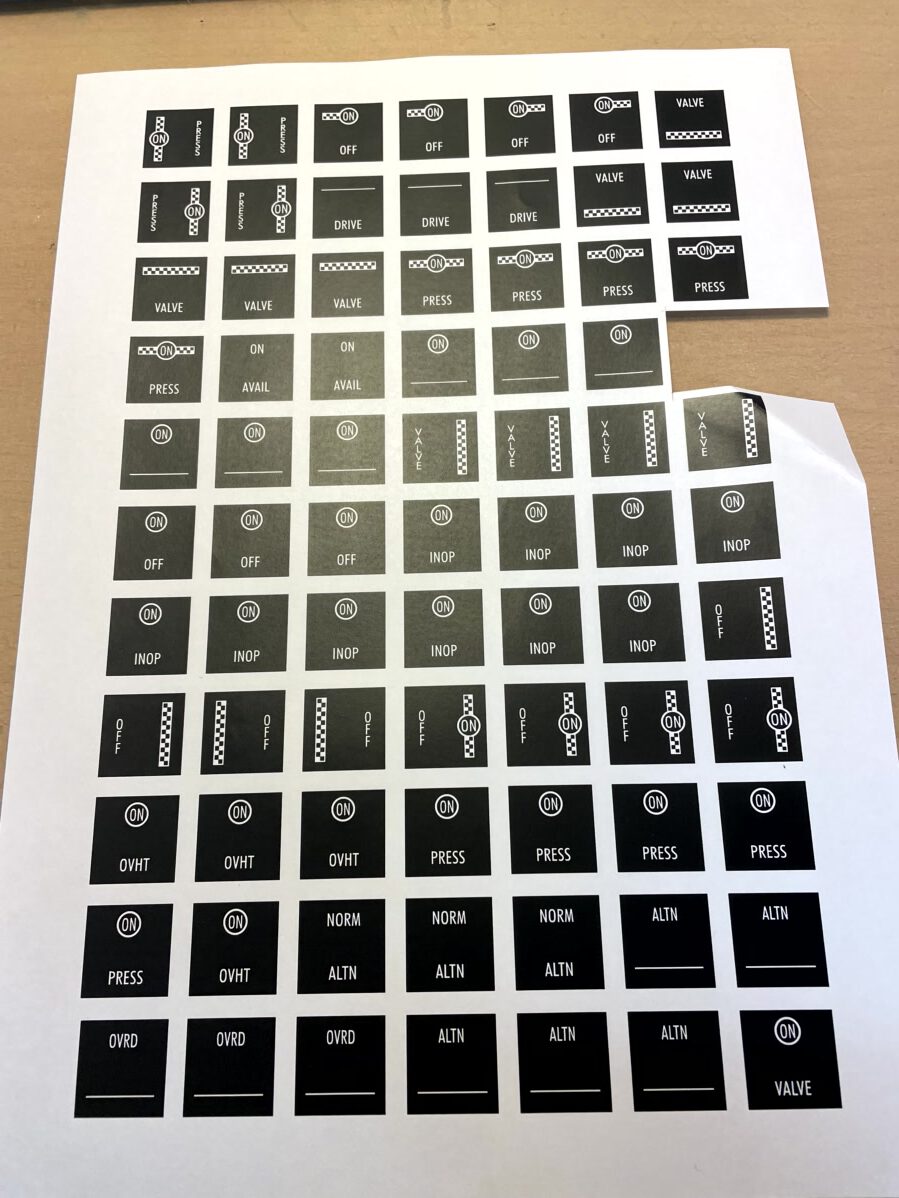
Print out the PDF file
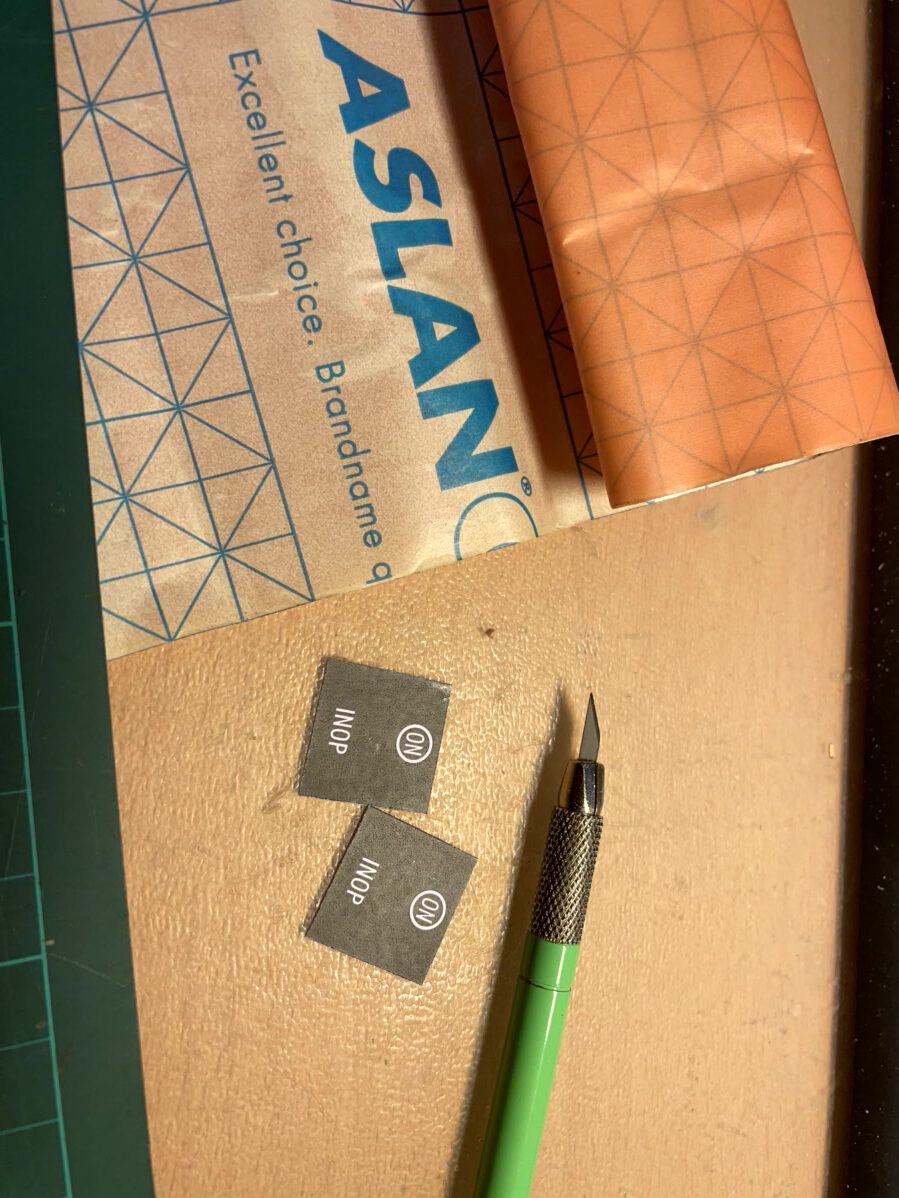
Cut out the desired inscription from the sheet with inscriptions.
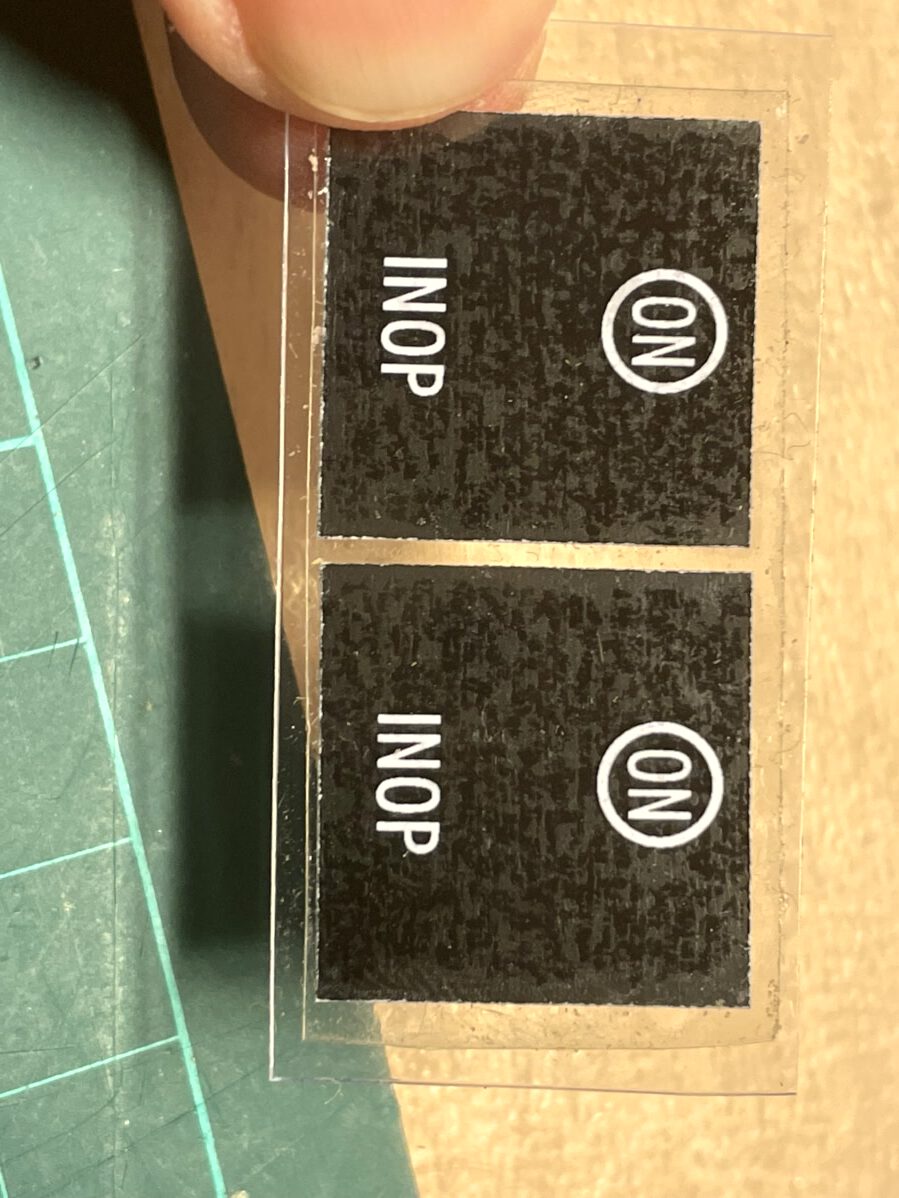
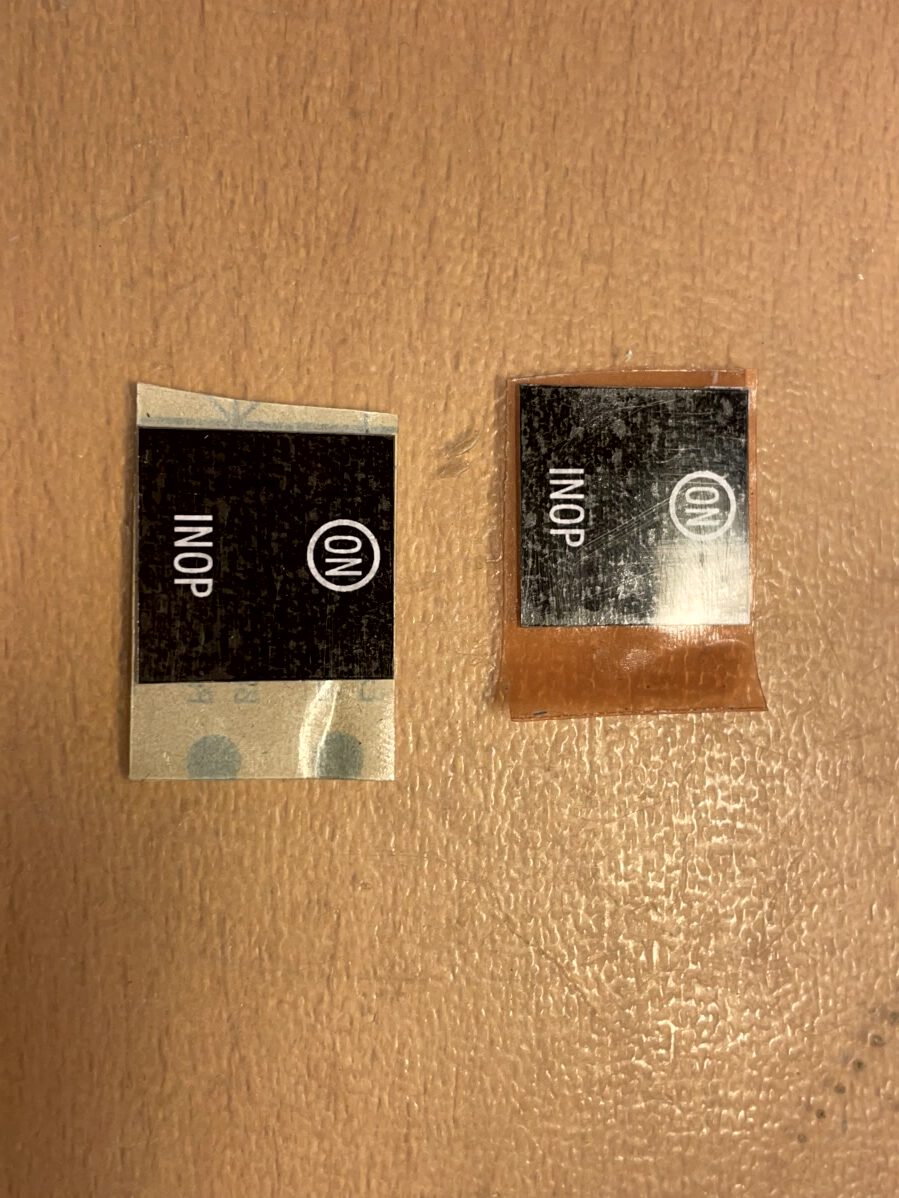
Stick the cut-out inscription with the printed side on a piece of double-sided adhesive foil. I use this foil from the Aslan brand. And then stick the other side of the double-sided foil on a piece of plastic sheet between 0.2 and 0.3 mm thick.

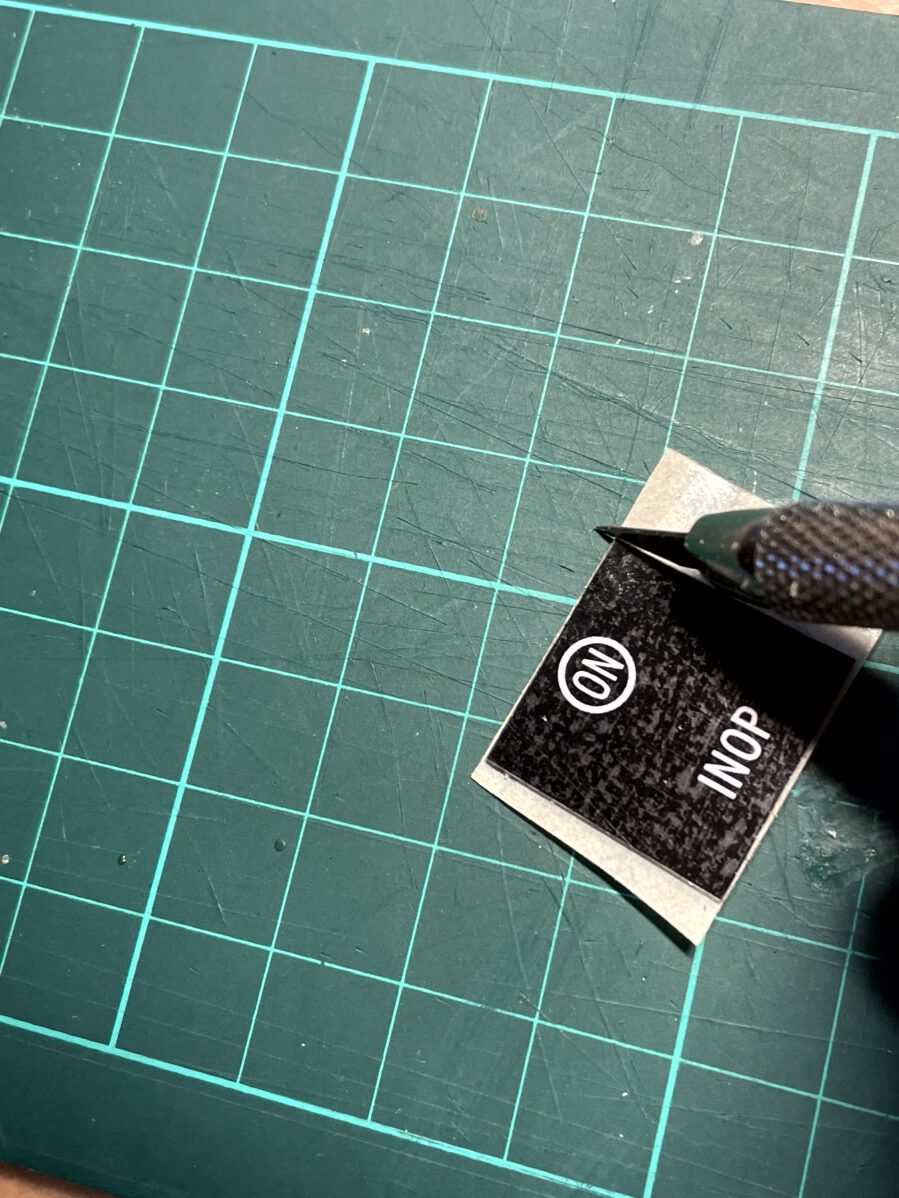
Cut off the pieces of plastic sheet that stick out.
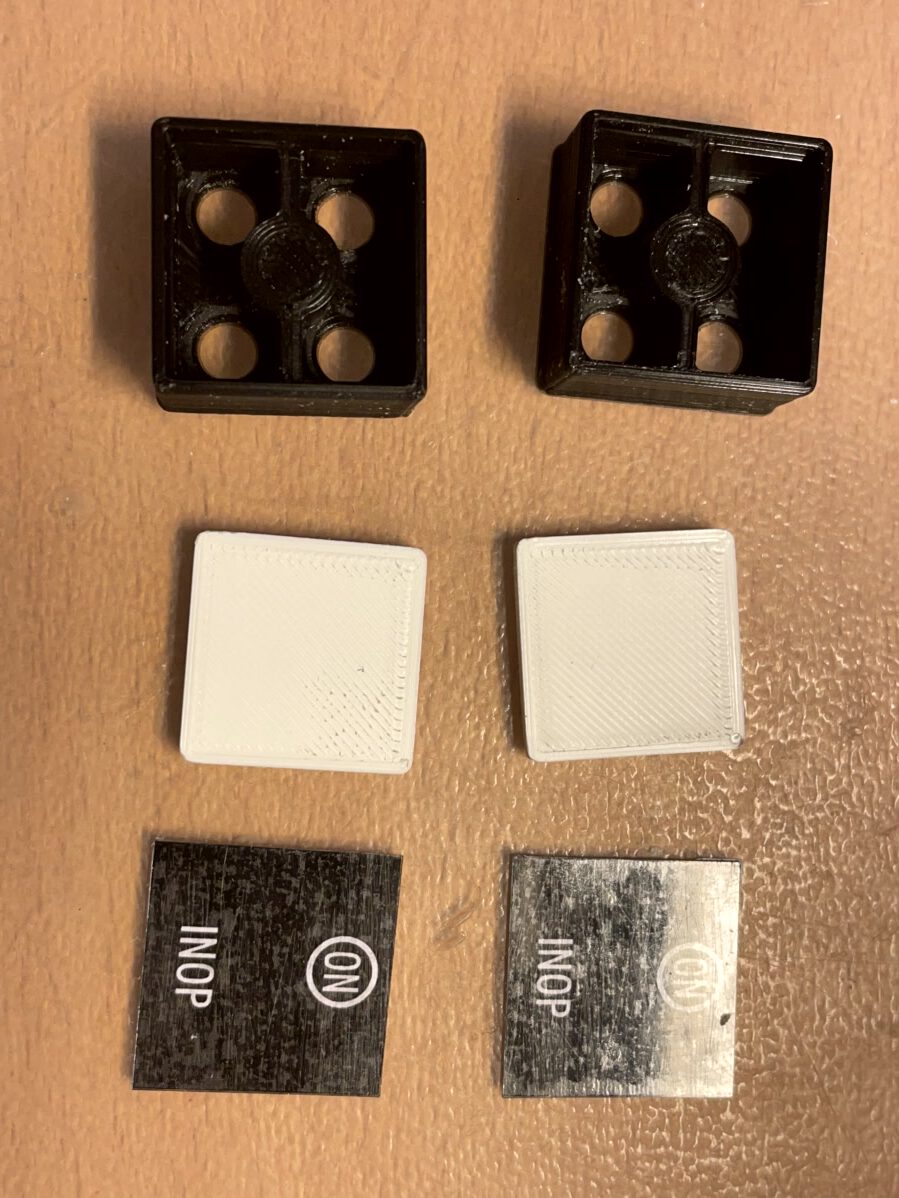
Print the corry switch and the corry switch plate with the 3D printer. If necessary, these are always included in the zip files of my 3d designs.
Now stick the white back on a piece of double-sided adhesive foil.
Cut off the protruding pieces of adhesive foil.

Then stick the inscription on the plate of the corry switch.
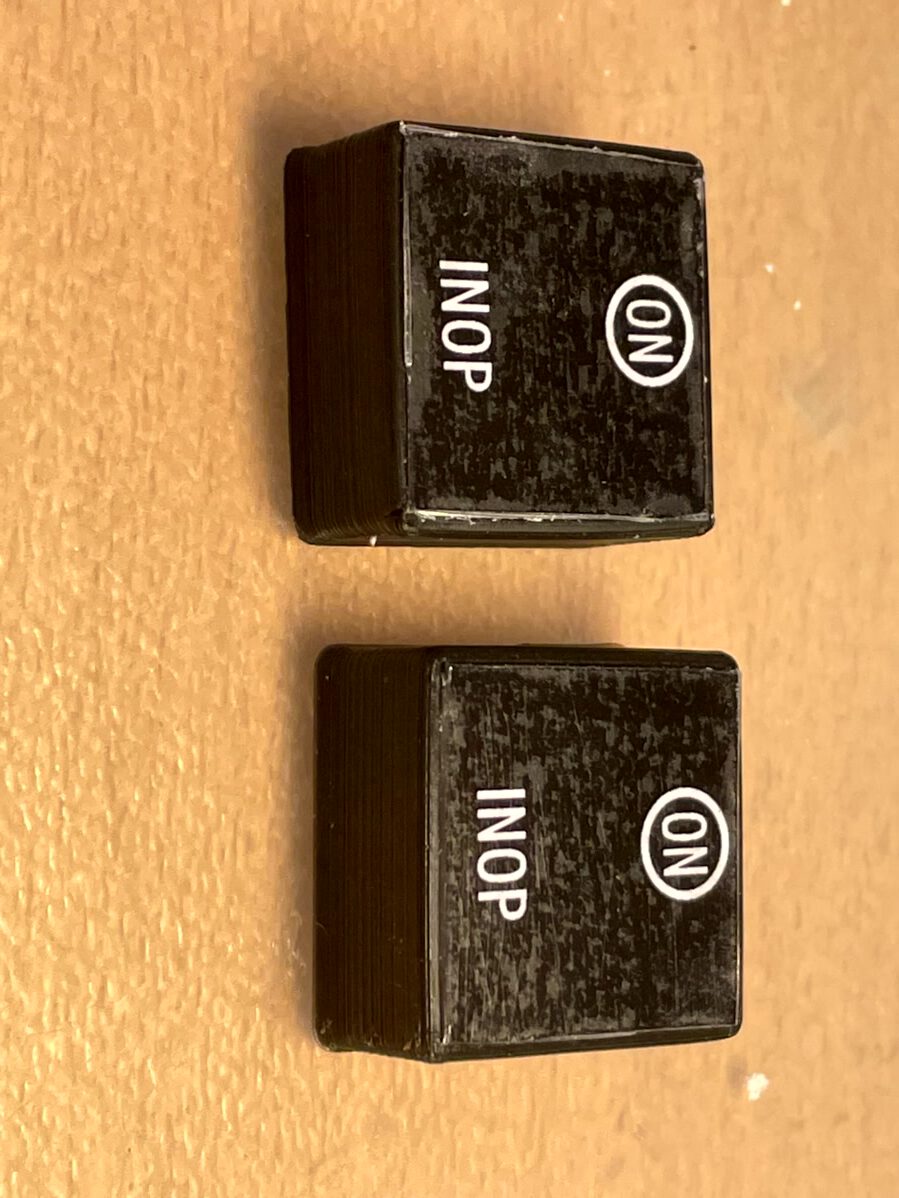
Push the plate into the corry switch.
Result
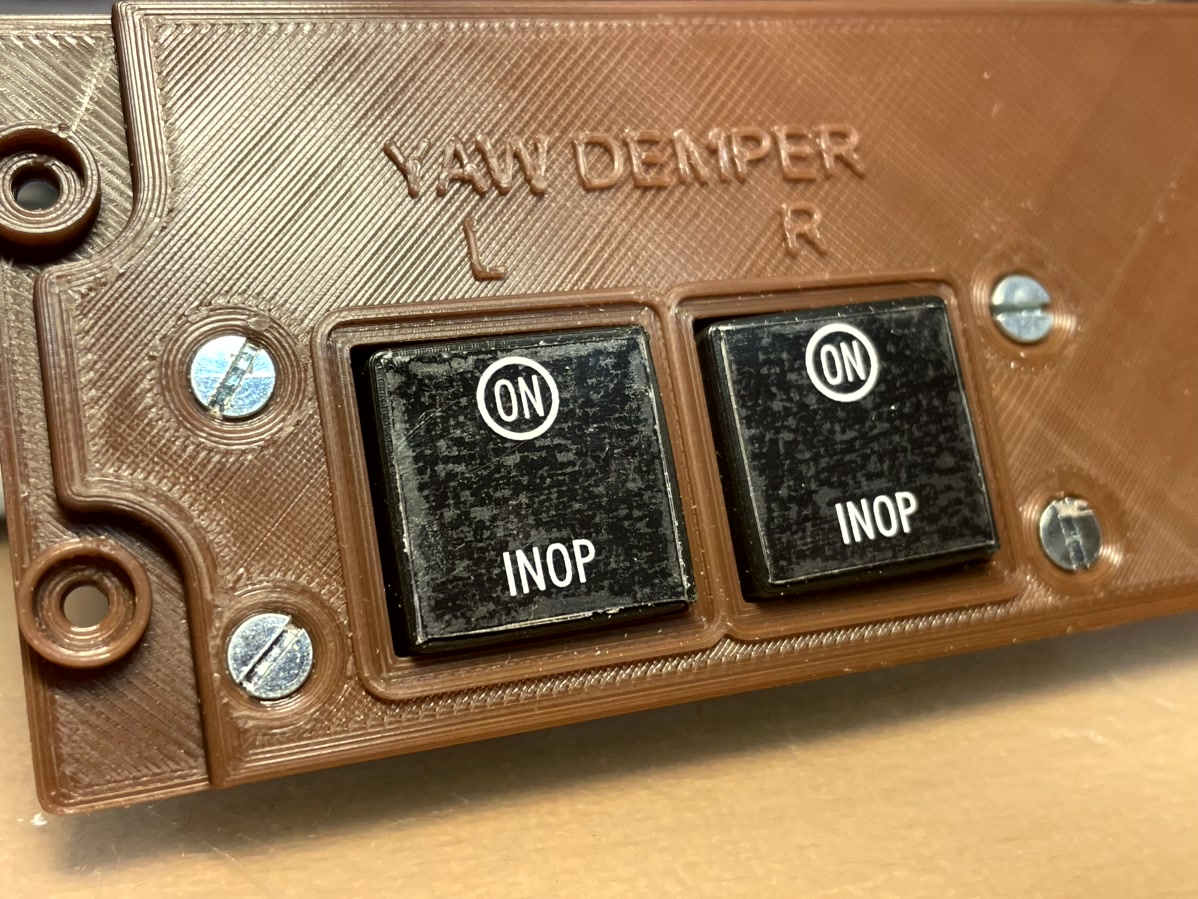
Just place the corry switch in the panel and it’s ready.