History


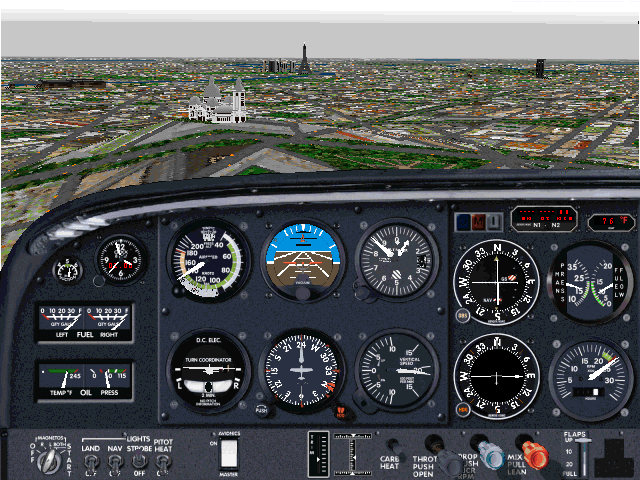
My FS experience goes back to the 80’s, where I once started with FS 2.0 as a teenager. Like almost everyone at the time, it started with flying a circuit on Meigs field. Later on to the Boeing 737 and a flight to Chicago O’Hara. At that time it was mainly a bit amateurish flying. It wasn’t until Flight Simulator 4.0 that things got a bit more serious. From Flight Simulator 5.1, the Boeing 757 was taken out of the stable and I started to study the systems of the 757. But then, with the arrival of FS98, came the beautiful freeware 757/767 panel of Eric Ernst (who unfortunately passed away much too soon). I immediately fell in love with this. So realistic and so much really worked. Later this panel was further developed for FS2000 together with him and Pilot in Command (PIC). Another step forward. But the truly most beautiful version of the 767 followed this with the Level-d 767. This model was really ahead of its time. I have flown this in combination with FSX for years. At one point I wanted to switch to P3D v4, but unfortunately no good 767 was available for that. Until about 2020 Captain sim came out with the 767 for P3D. And to this day I now fly this plane.


Construction of the cockpit started in 2007. Since the 90s I am a member of Flight simulator Club Belgium (FSCB). Yes, as a Dutchman I became a member of a Belgian club, simply because I came into contact with some members of this club via the Internet. In addition, the club was closer to my home address than a Dutch club. With the beautiful Level-D panel, I wanted more. I was fed up with the clicking on the screen. In addition, there was someone at the FSCB who was building a DC3. I became very interested in that. But yes, I had absolutely no experience in building instruments, let alone an entire cockpit. Working with wood wasn’t exactly my specialty either. Fortunately, I already had very basic knowledge of electronics and programming.

So it started with a lot of research. Thanks to the internet, there were some resources with information about building a cockpit. For example, the site of Mike’s flightdeck. But specifically for the 767, of course also the info from Ian Cameron, who built a complete 767 at home. Next I had to choose which interface cards I would use. FSBus was widely used at that time, but the Open Cockpits cards in combination with the scripting language SIOC were also interesting. After a lot of reading, the choice was made very easy at some point. Nico Kaan had already done a lot of programming for the Level-d in combination with Open Cockpits/Sioc with his program Lekseecon. So the choice fell on the latter.

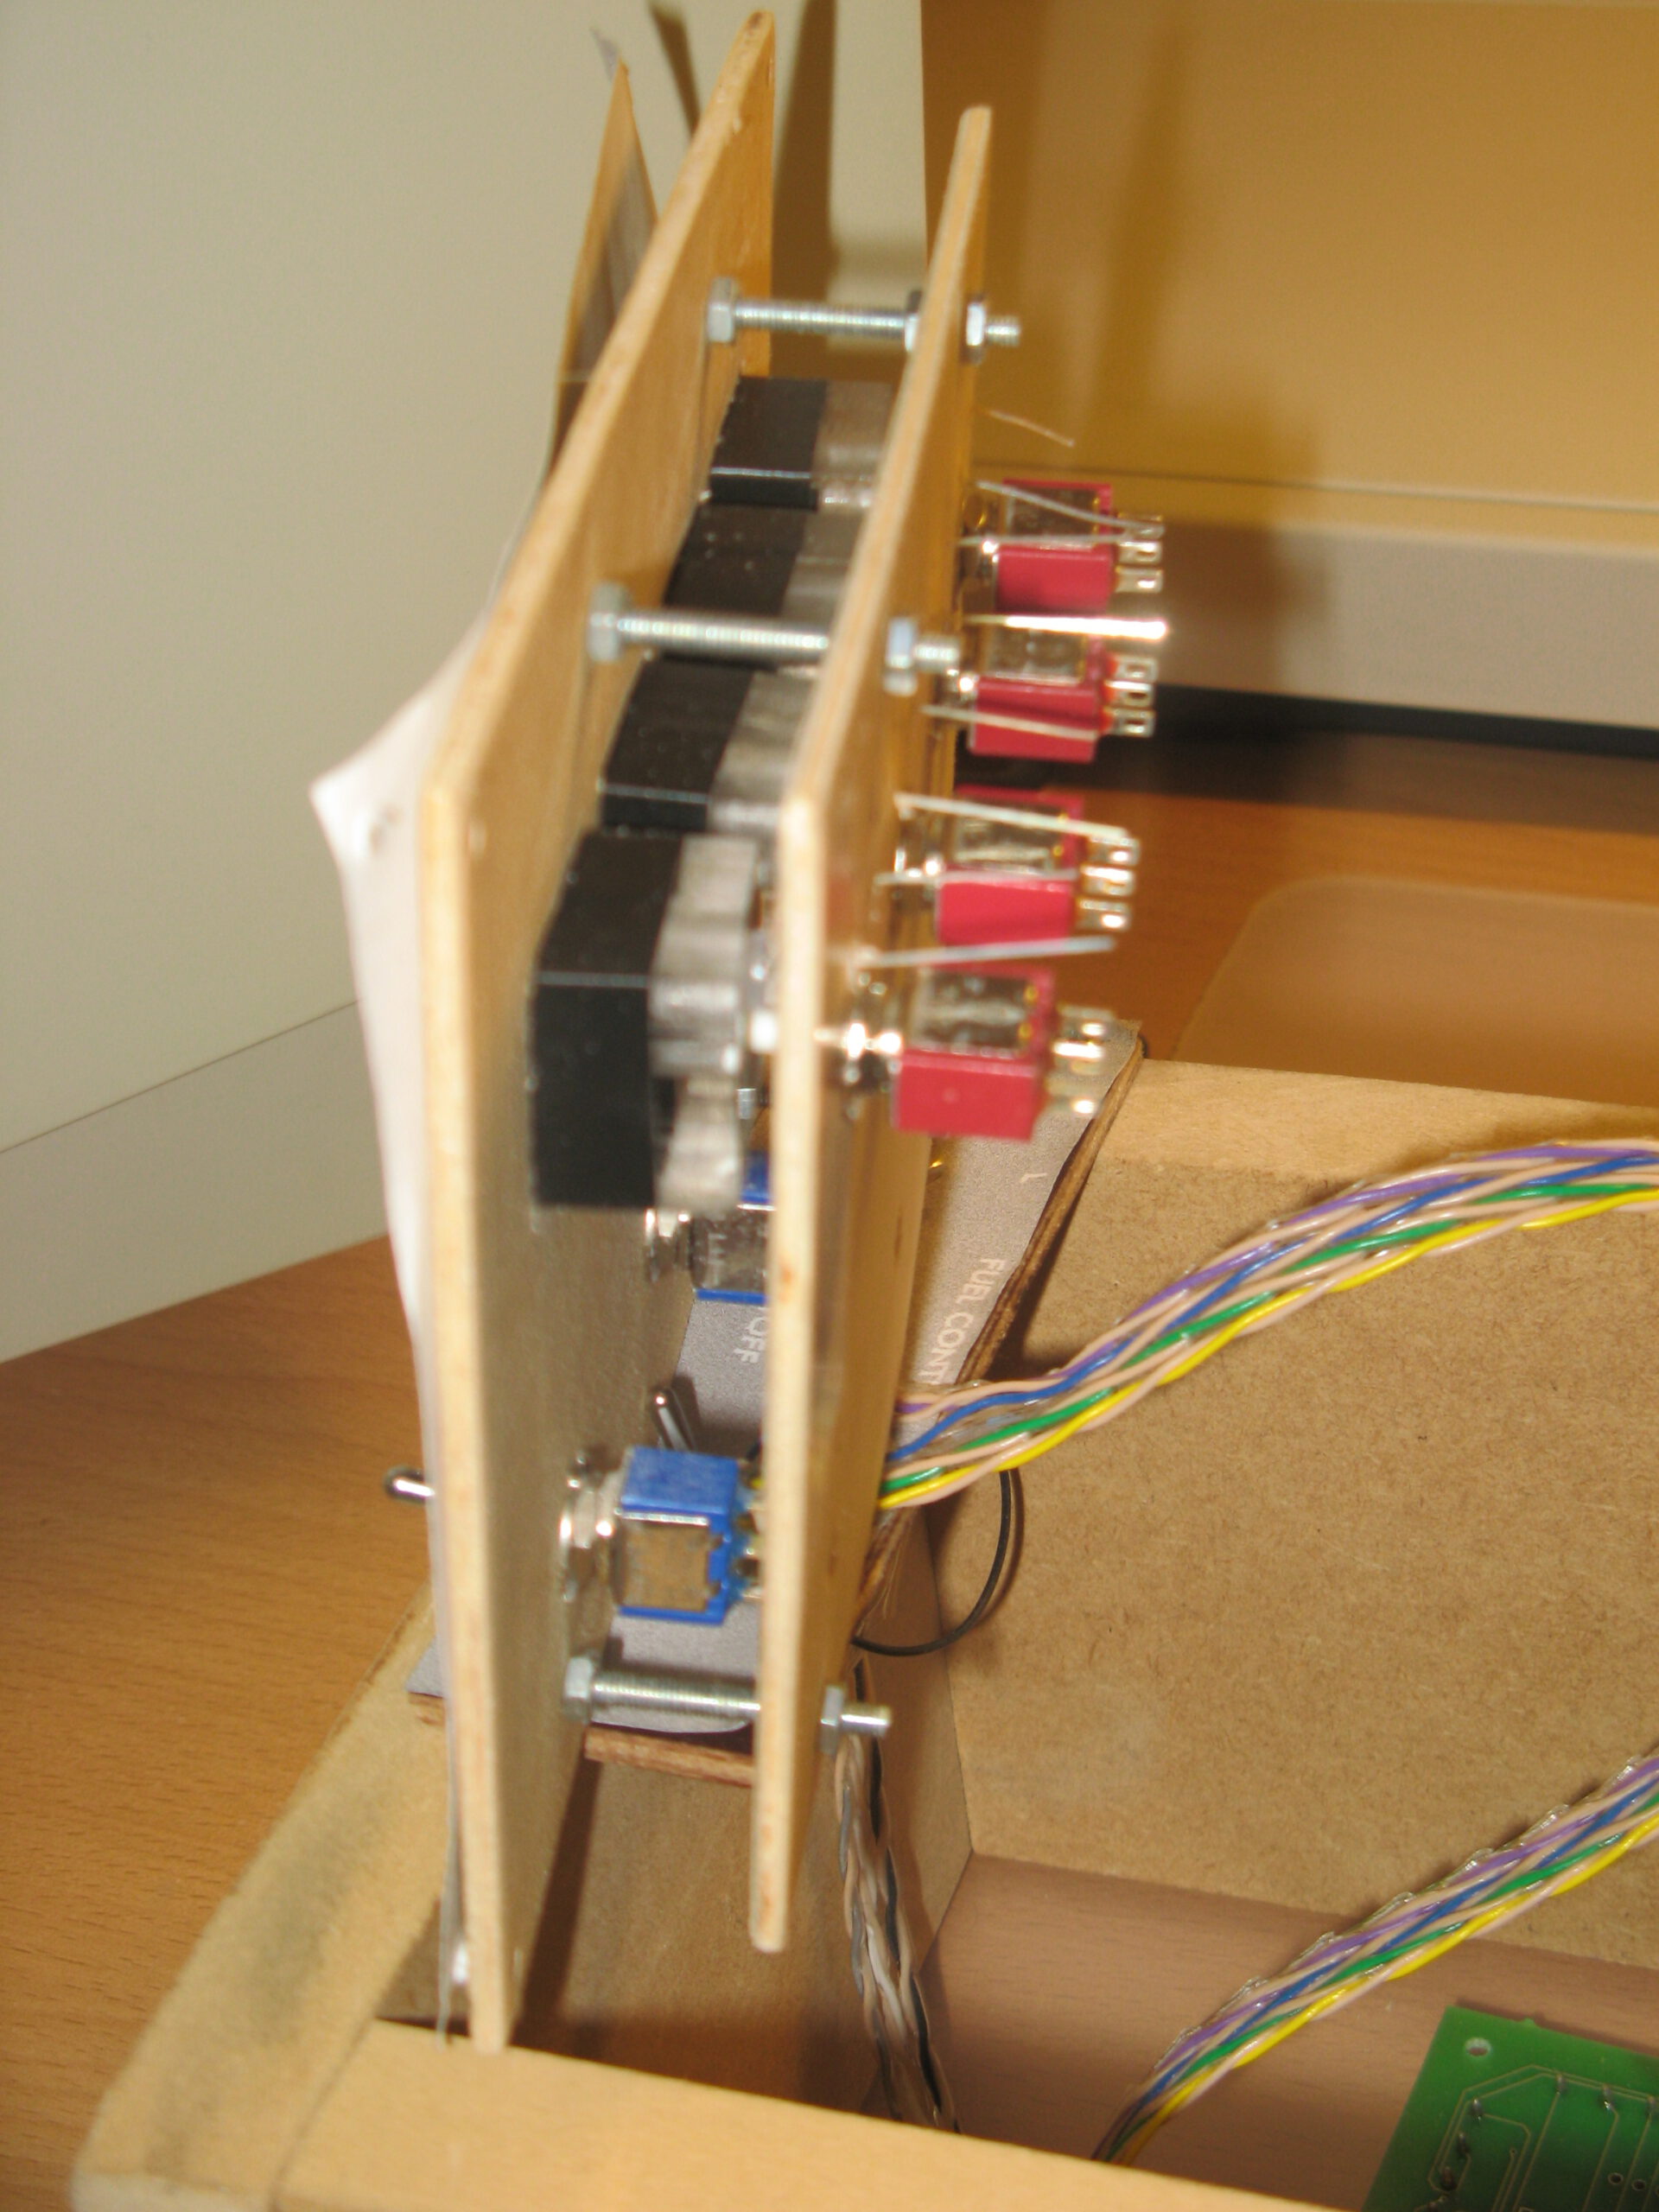
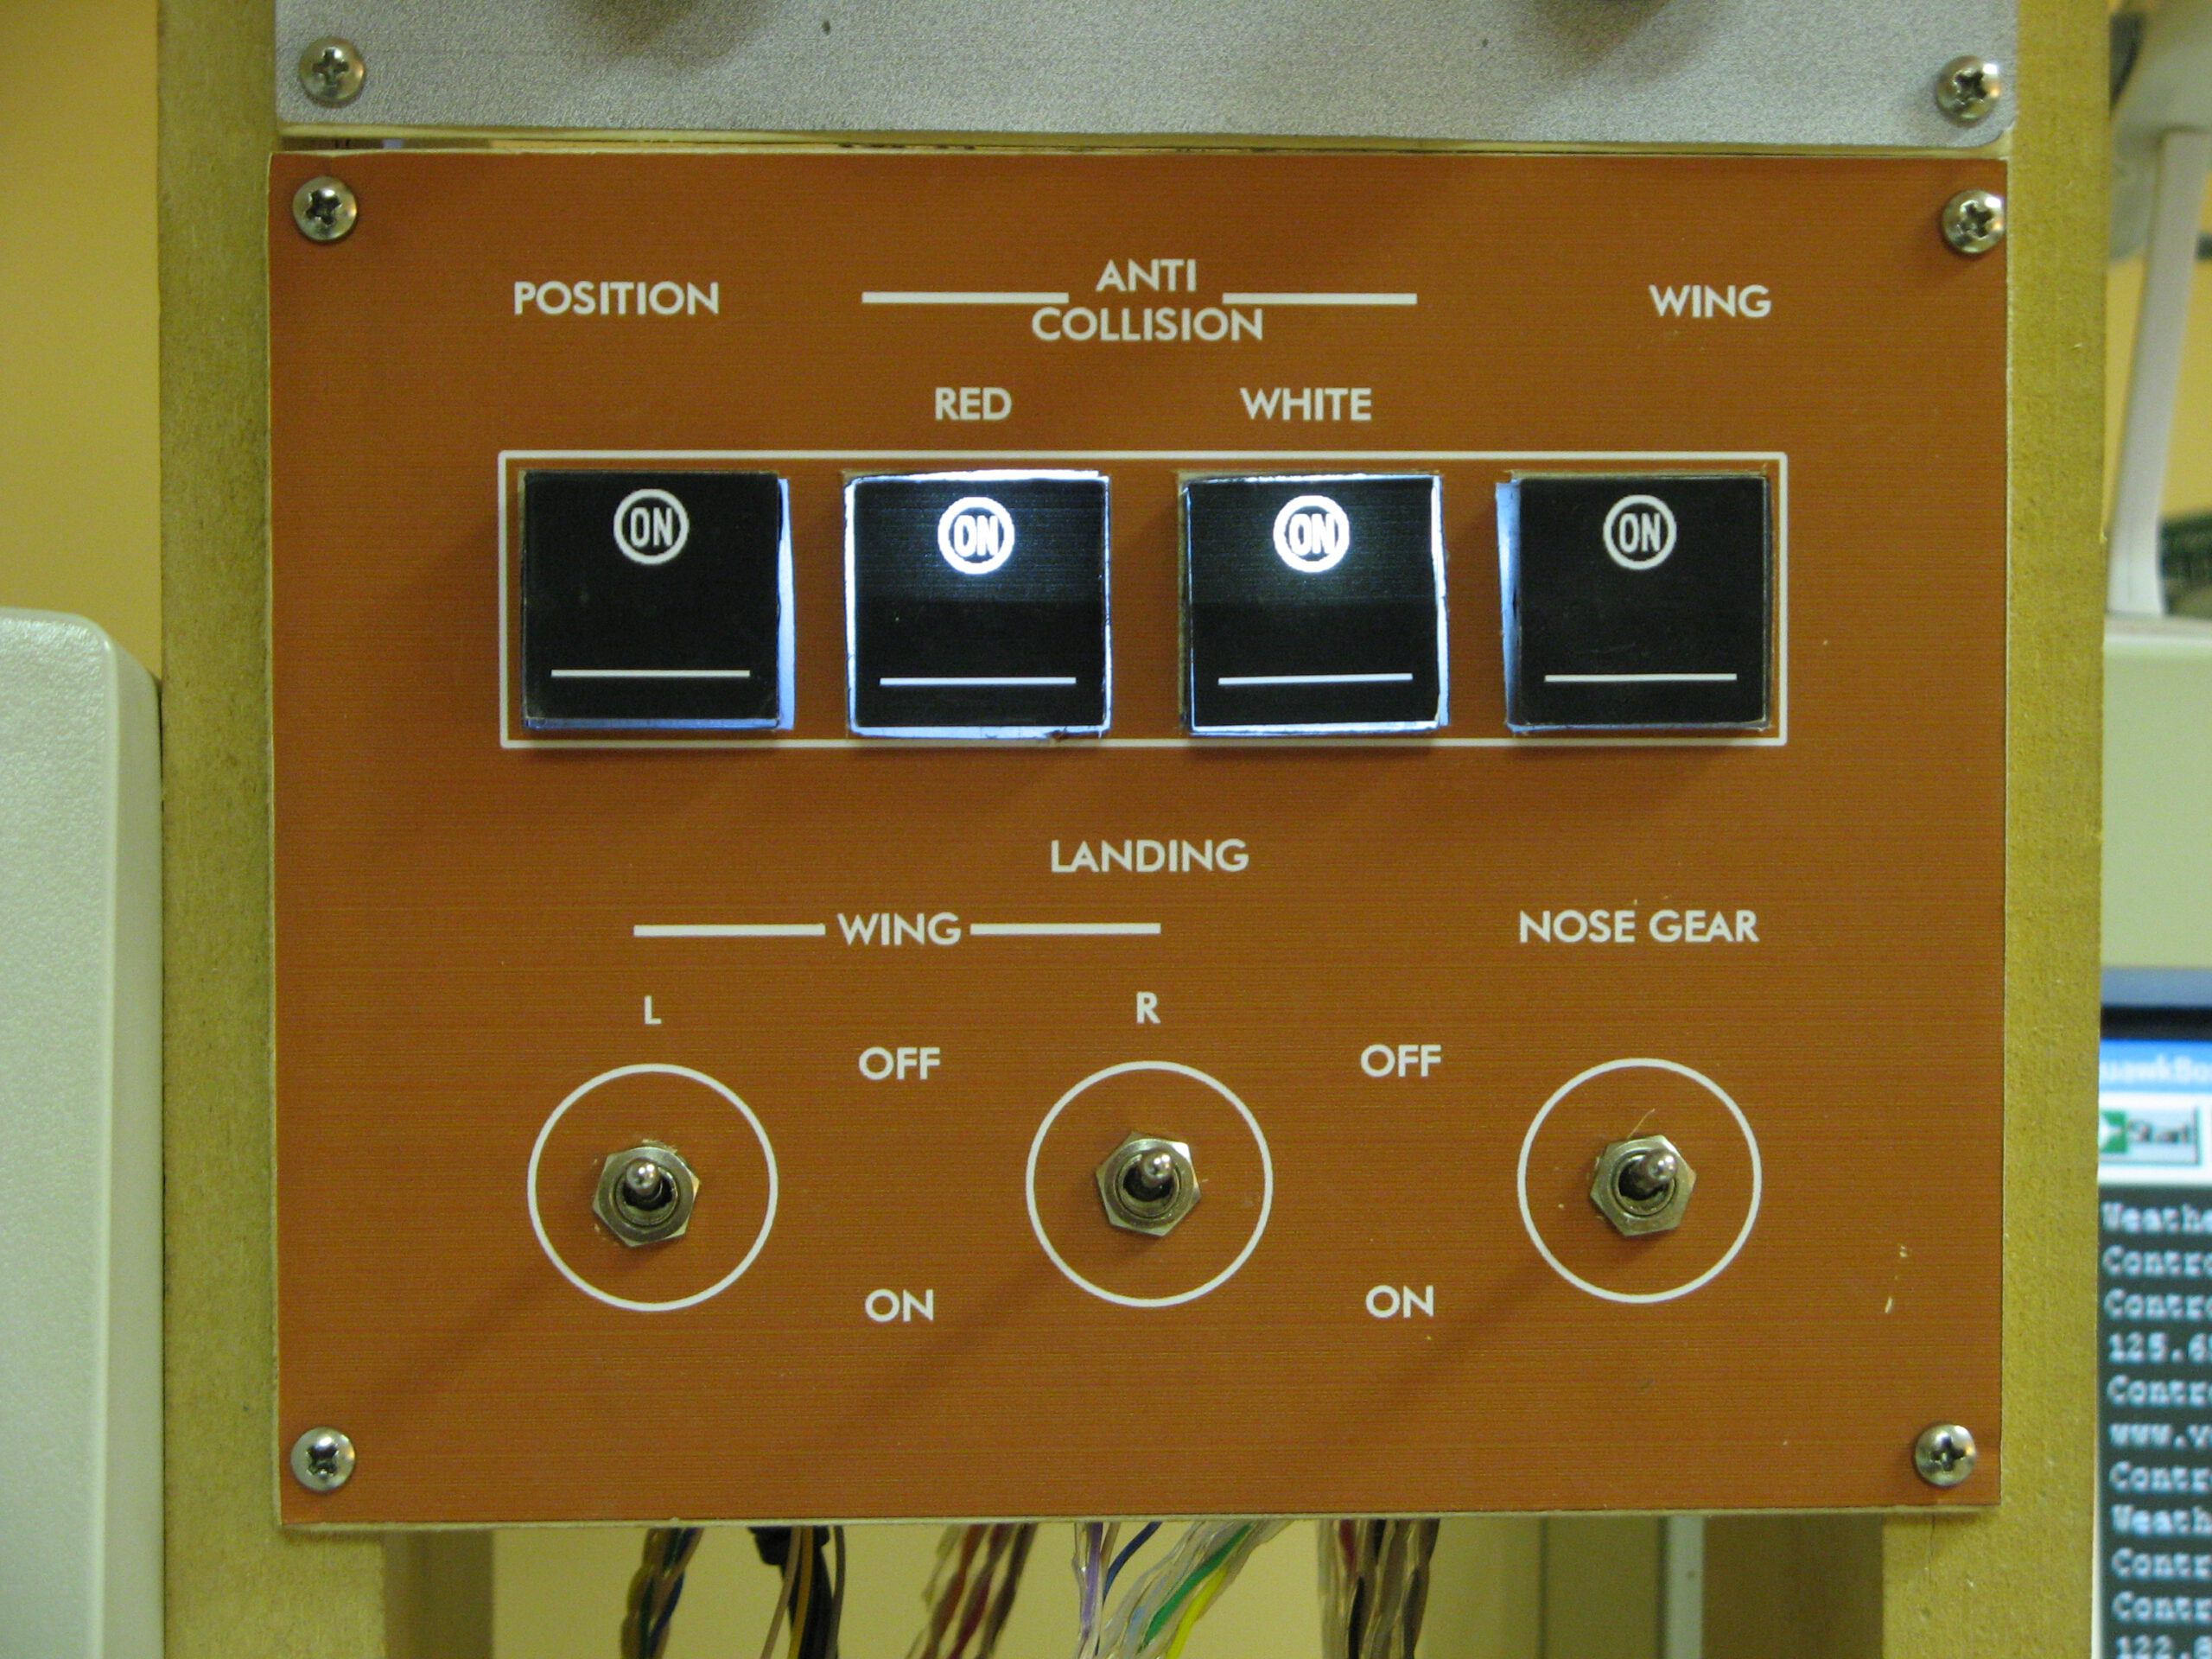

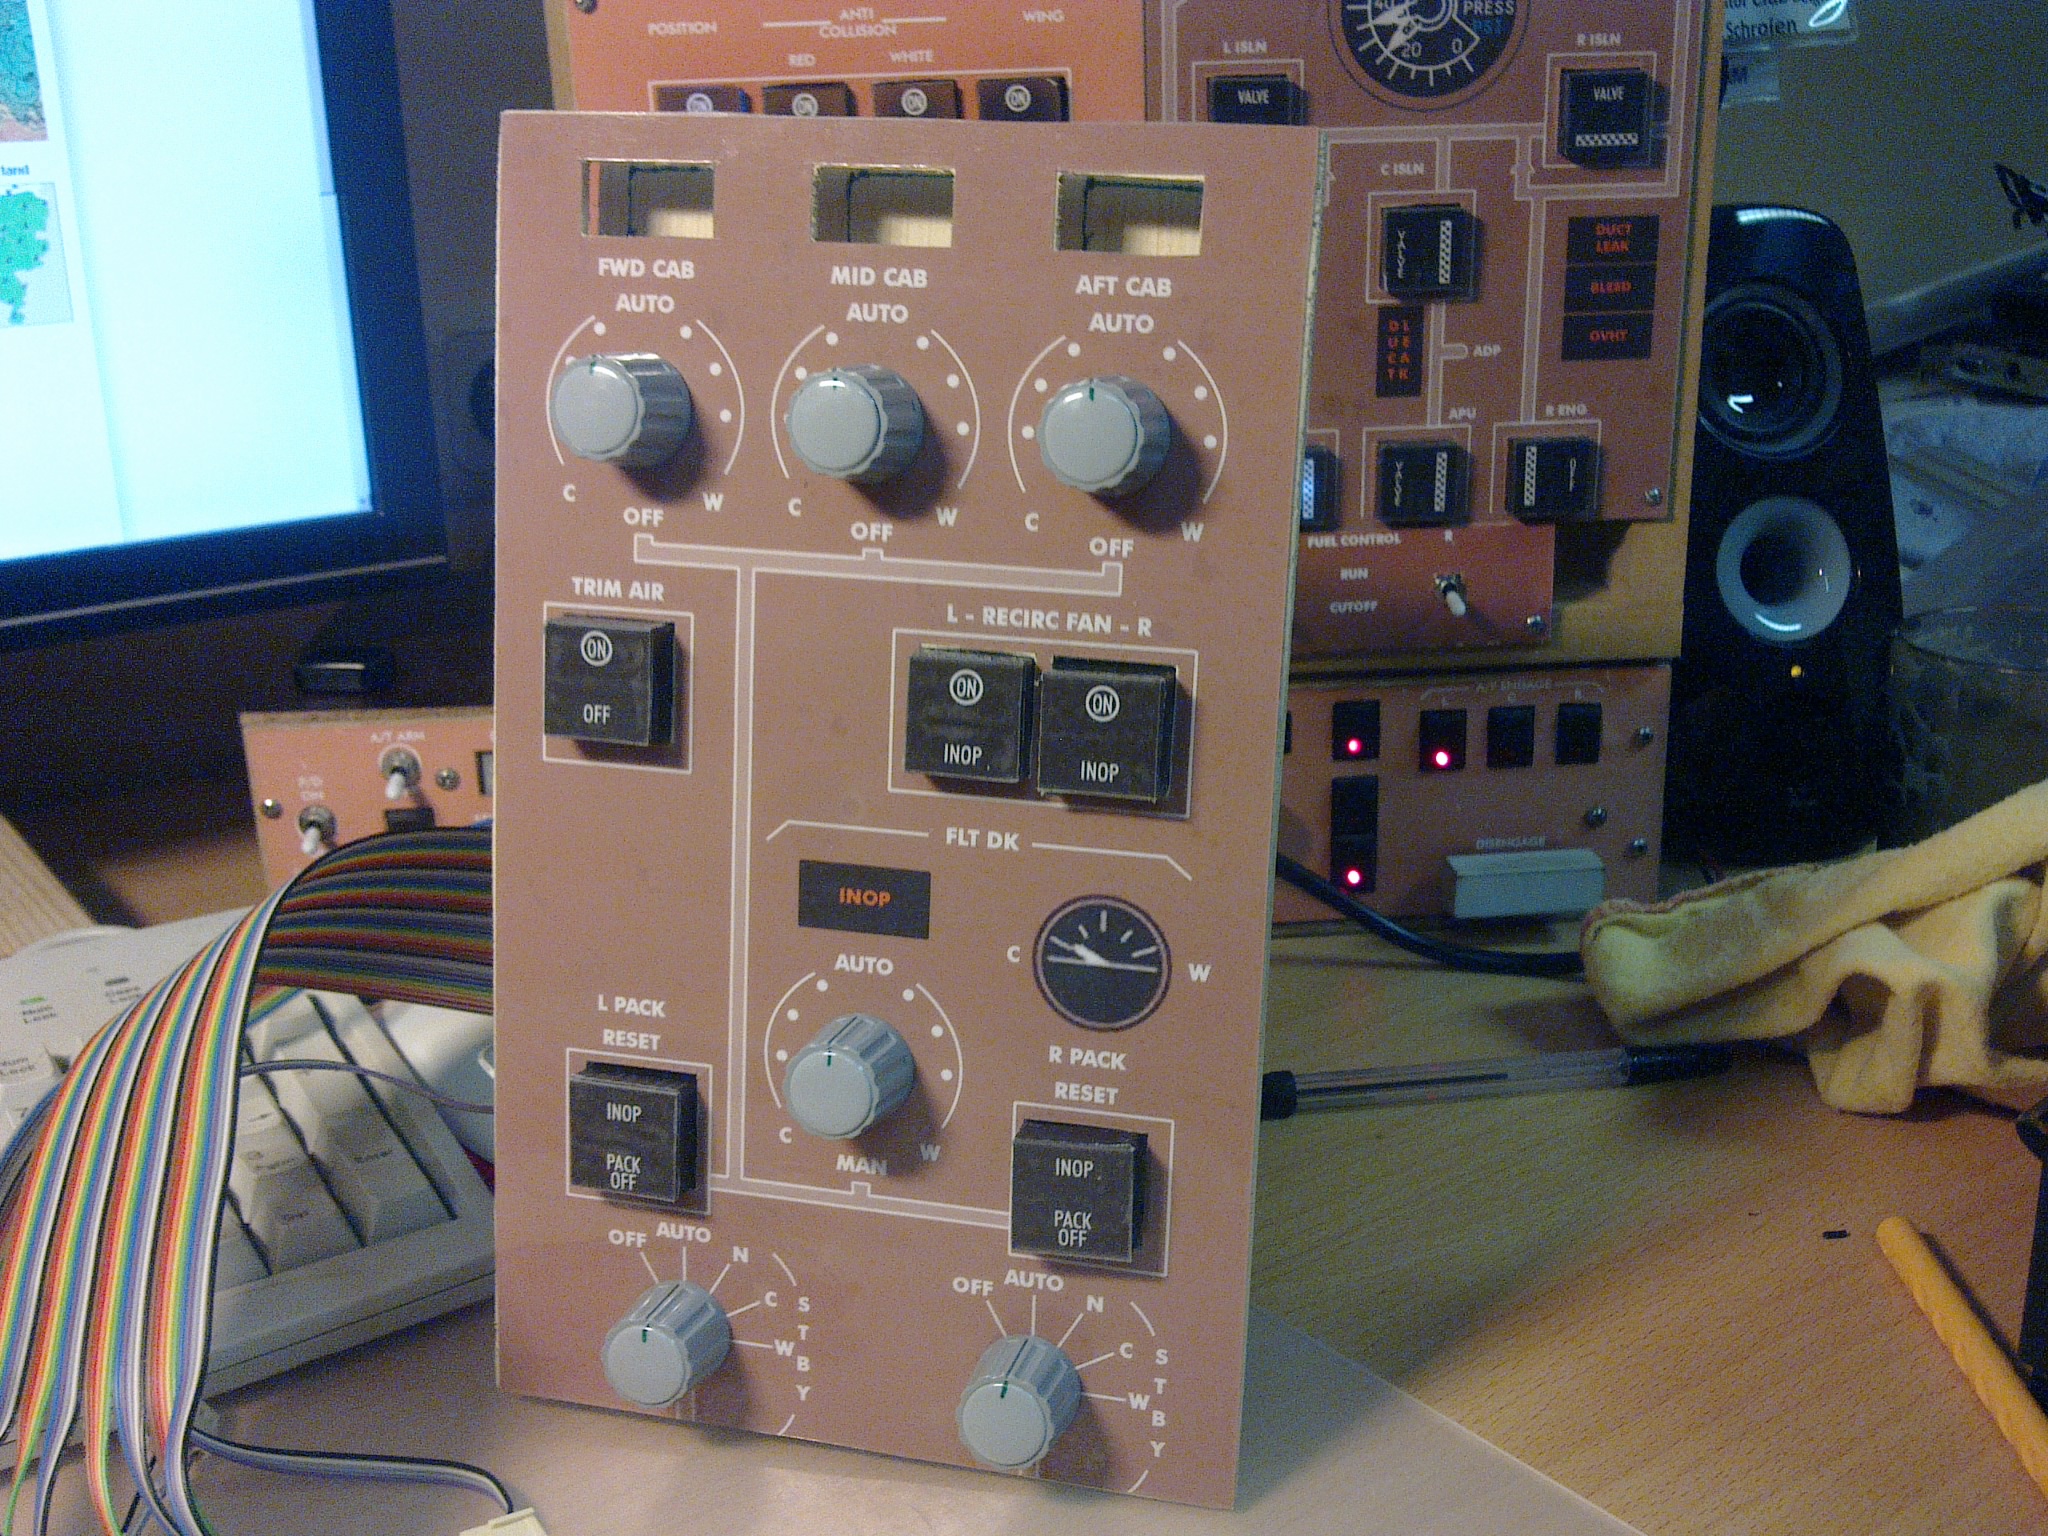
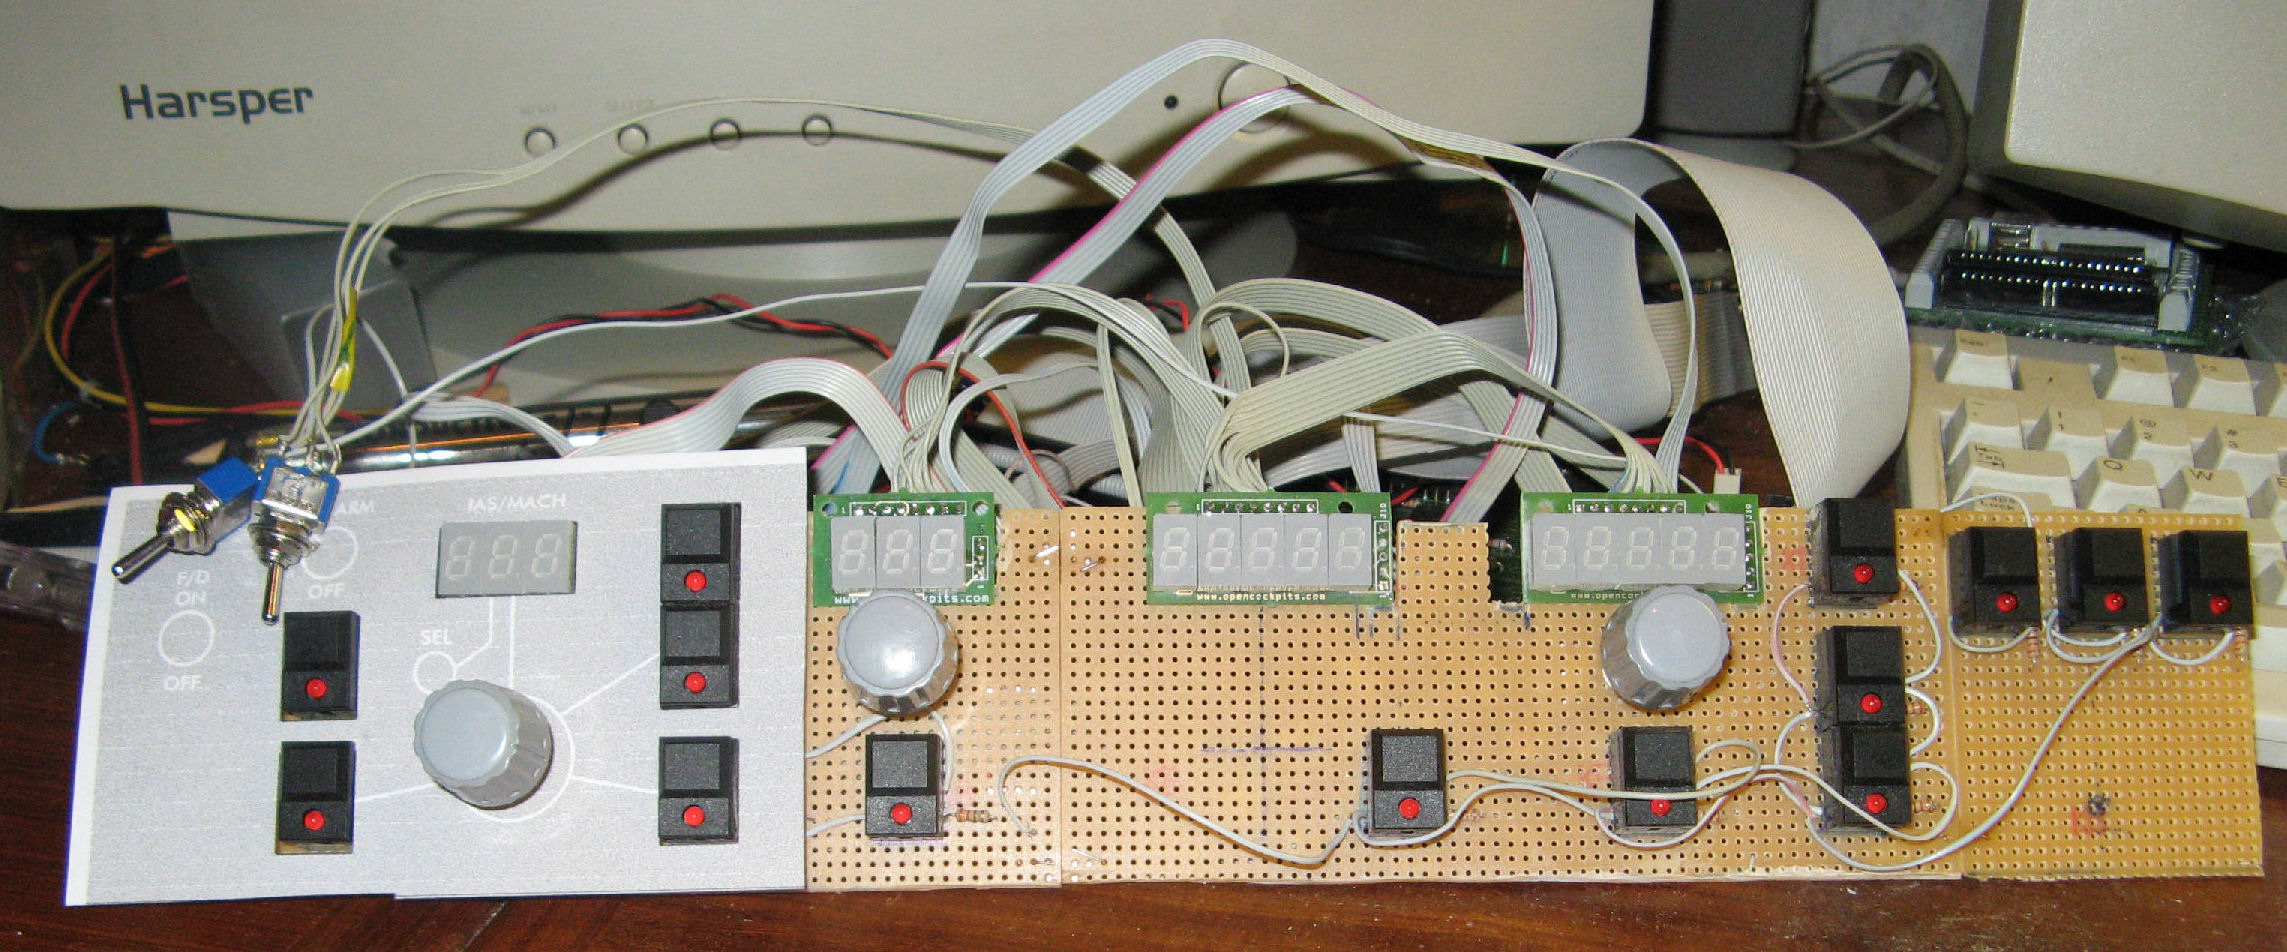
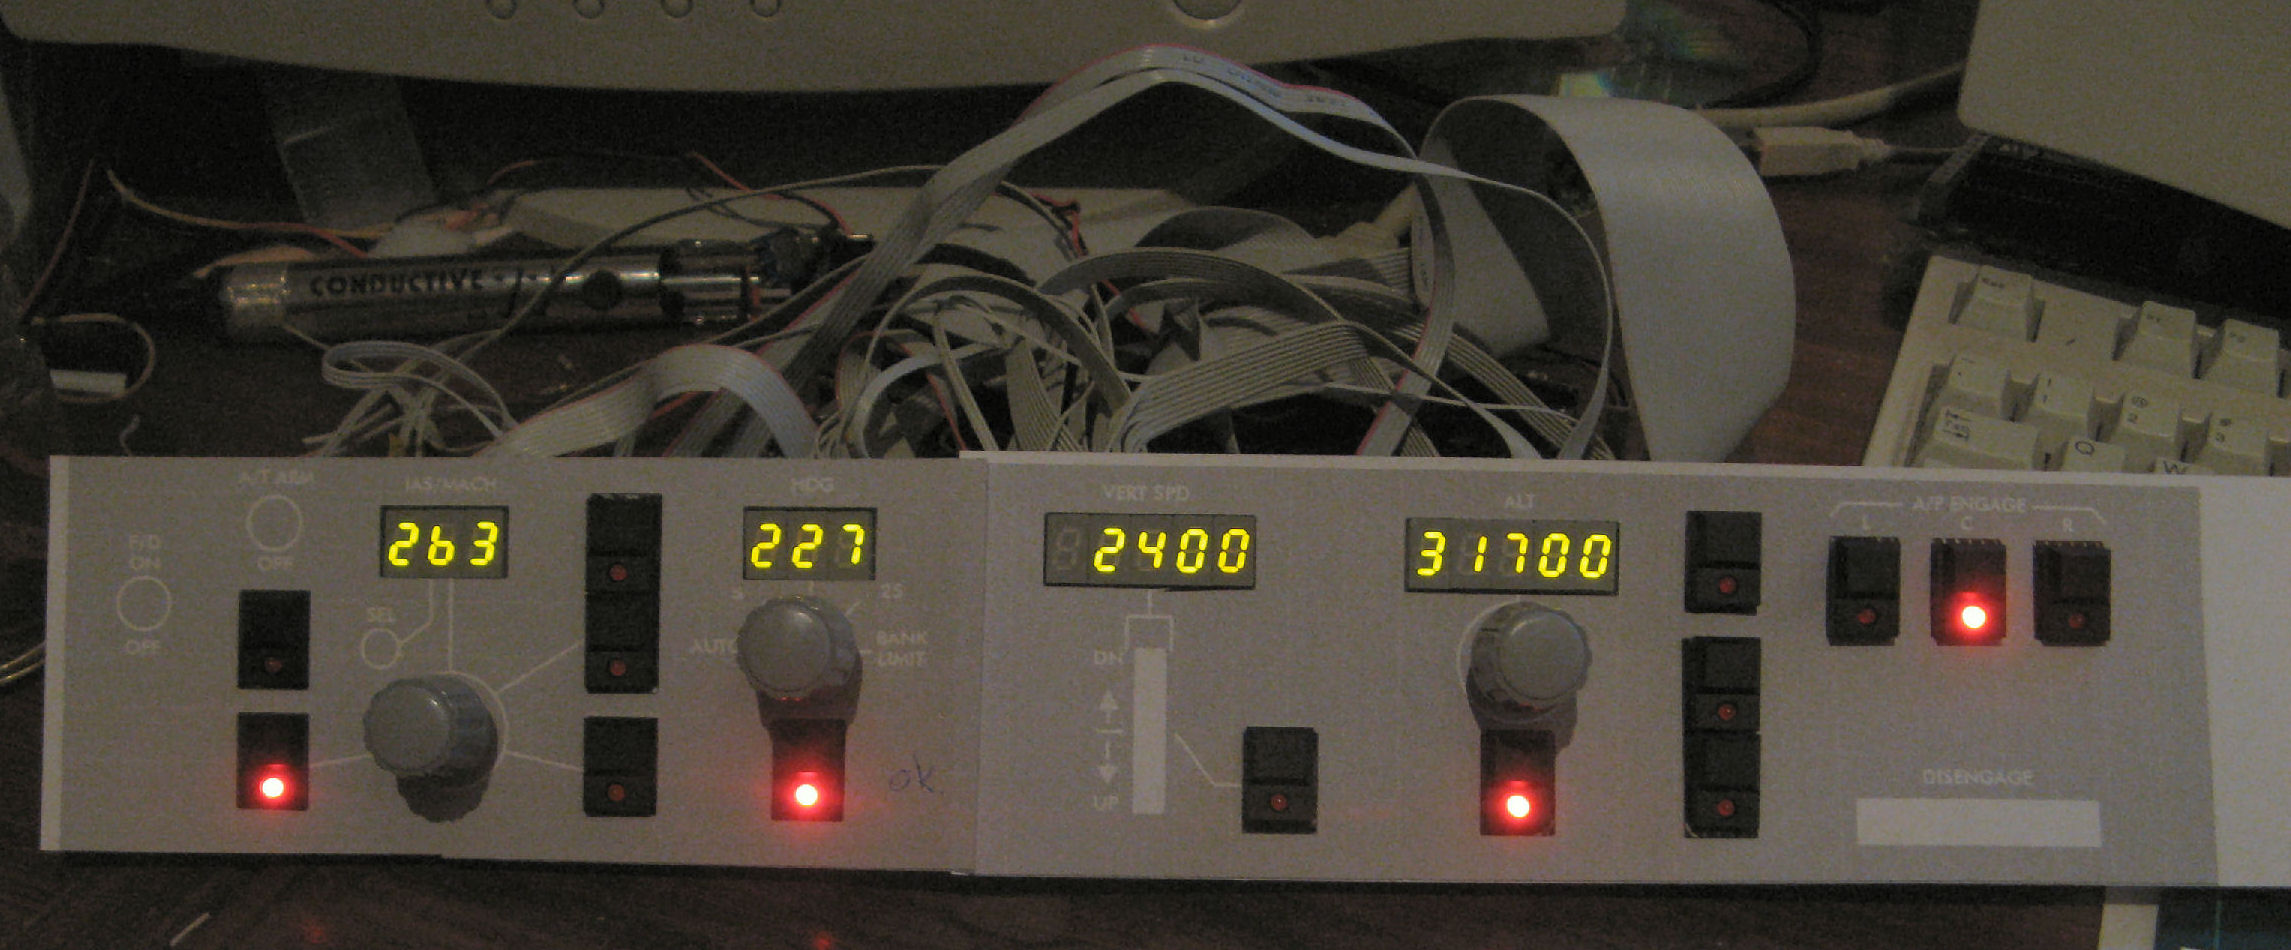
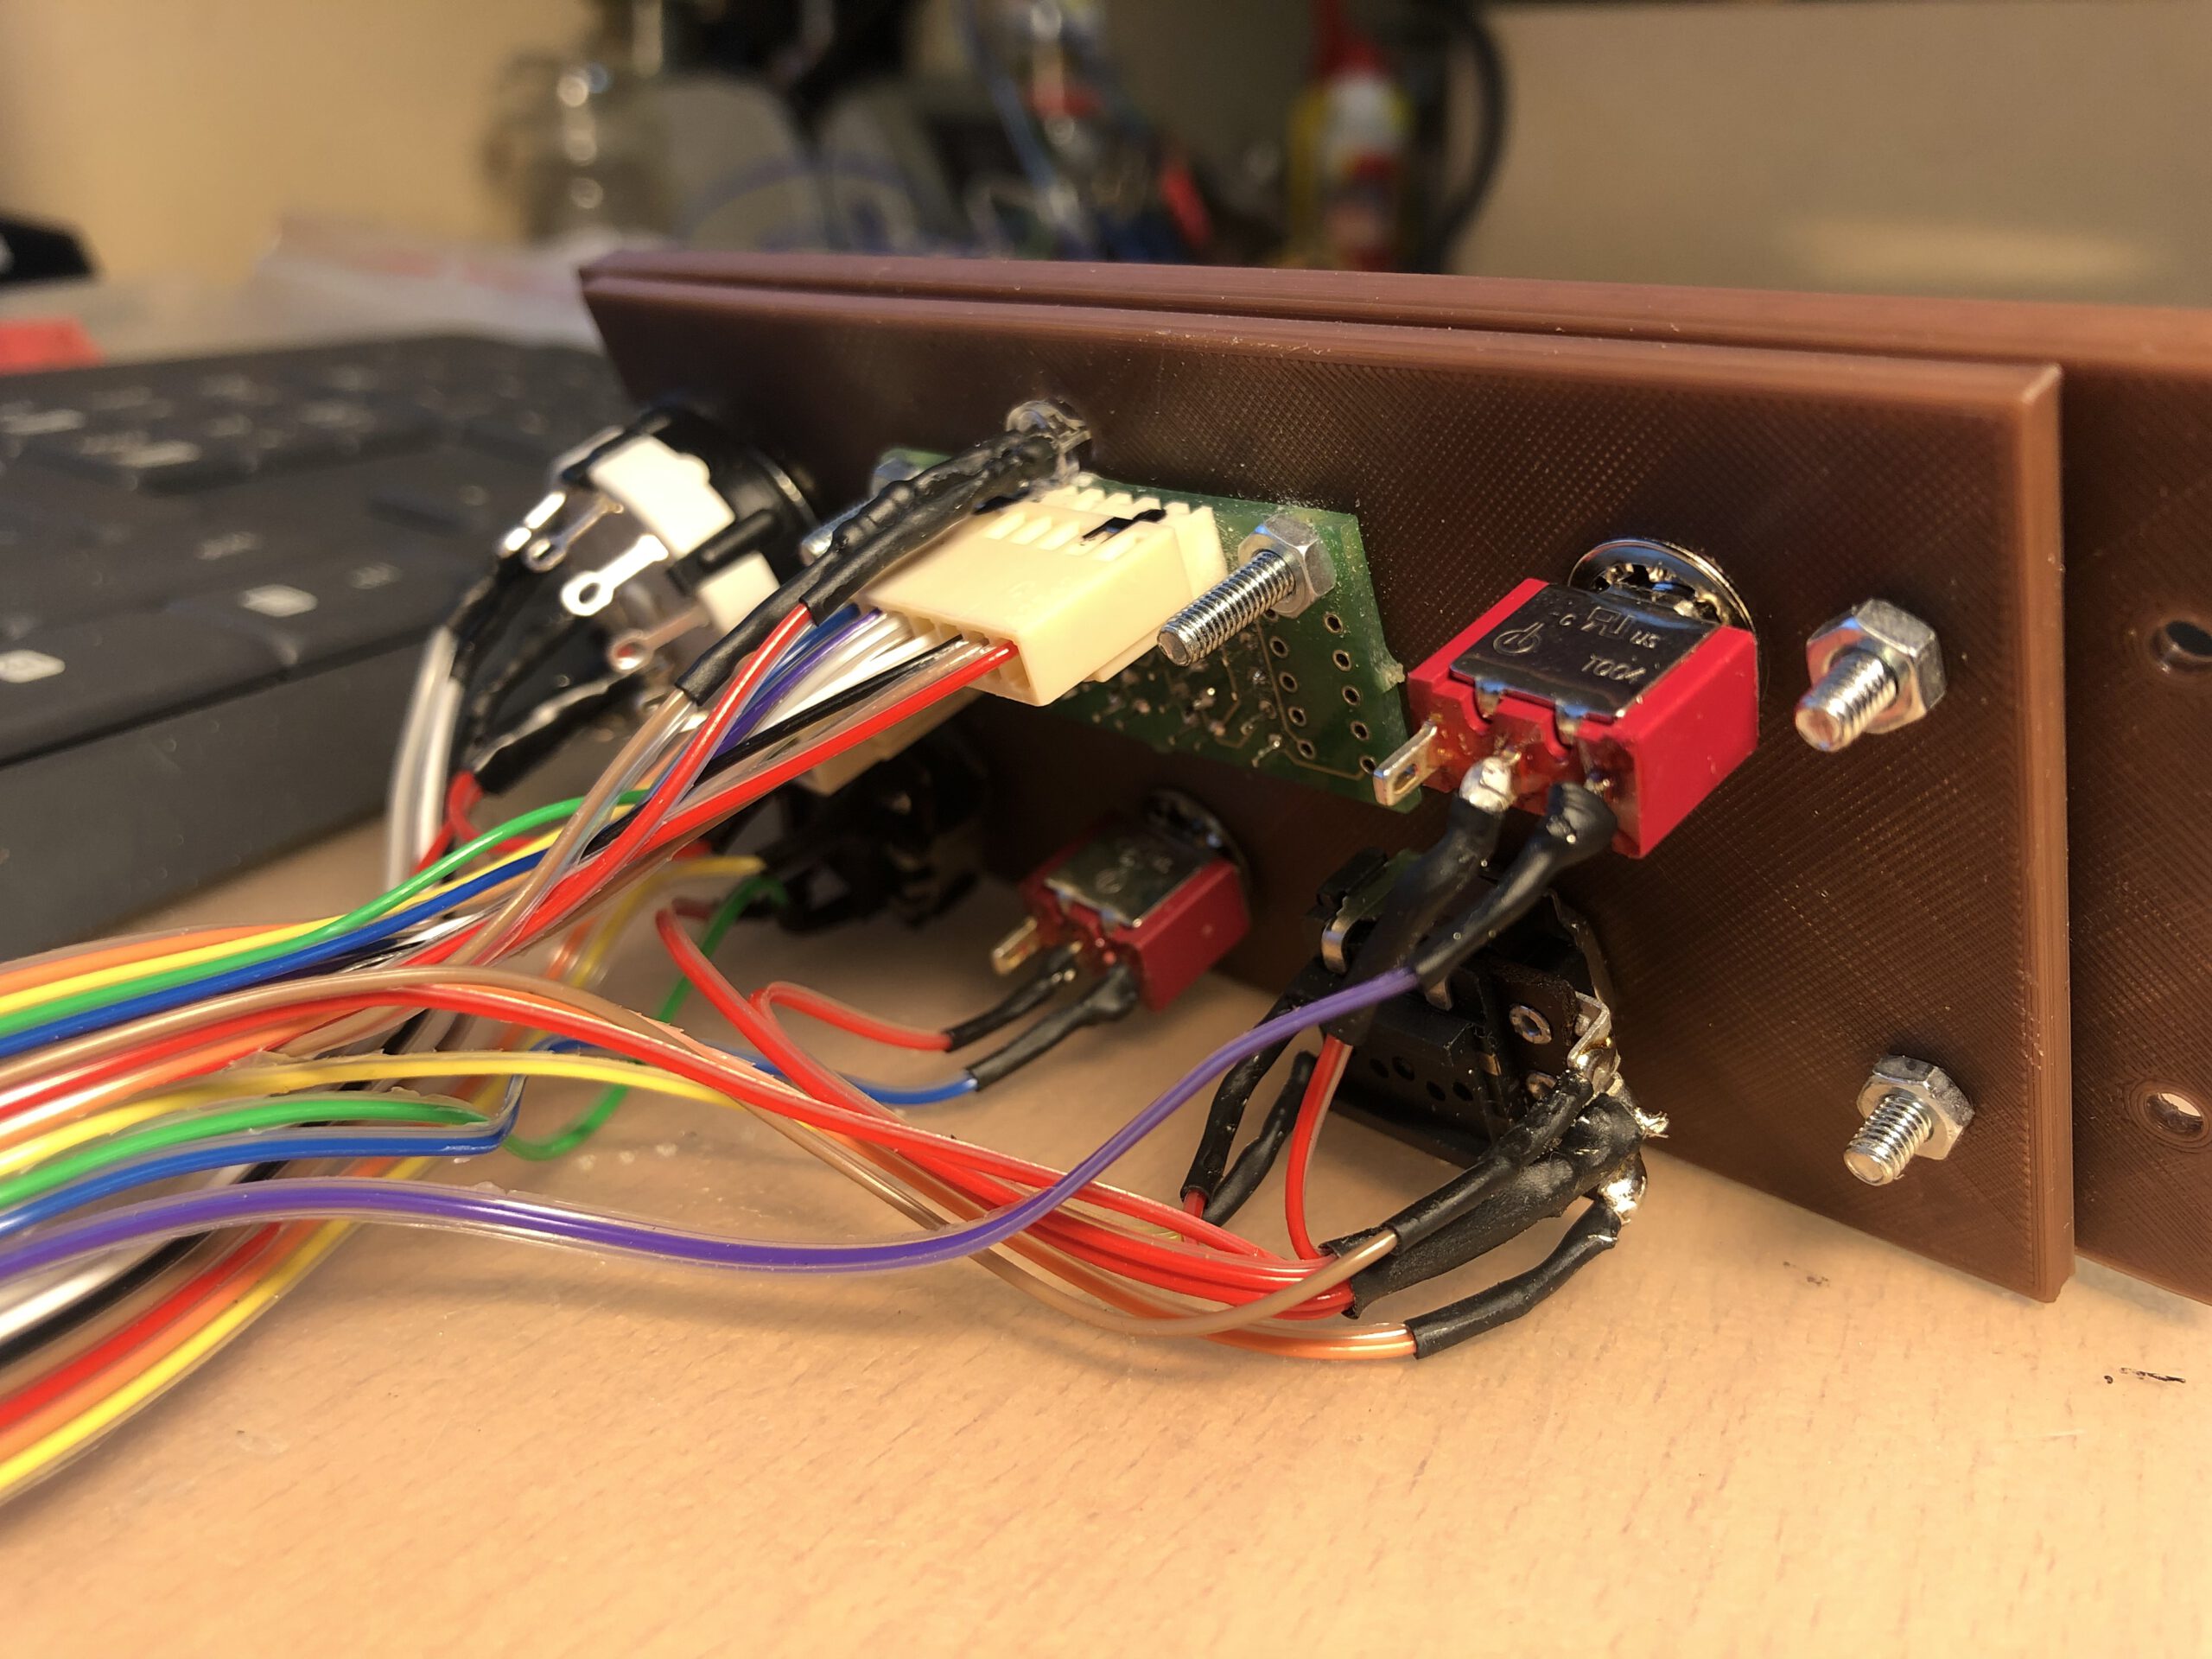
Finally I could start building. I had planned to make everything as low budget as possible. So don’t buy ready-made panels, but make them yourself from plywood. In addition, I had planned to use as many real dimensions as possible from the real 767. Thanks to the site simpit.de I could easily find out the dimensions of many parts of the 767 cockpit. Somewhere else I found drawings of the cockpit, which allowed me to make the instruments to actual size quite accurately. So because I wanted to get rid of the clicking on the screen, I started with the MCP. Not exactly the easiest, but one that you use the most while flying. So it was a challenge right away. The panel was drawn in Paintshop Pro and then printed. This then served as a template to cut the correct holes for the buttons and 7-segment displays from the plywood. A lot of hours went into such a panel with a lot of sawing and sanding. Then make a back plate on which the electronics could be mounted. The drawing of Paintshop Pro was then printed in Boeing brown on sticker paper and pasted on the panel. Finally soldering, cabling and programming all electronics. In the first few years I also made many other panels in this way. Later I pasted transparent foil over the sticker sheets, which gave it a bit more shine and ensured that the panels did not discolour.
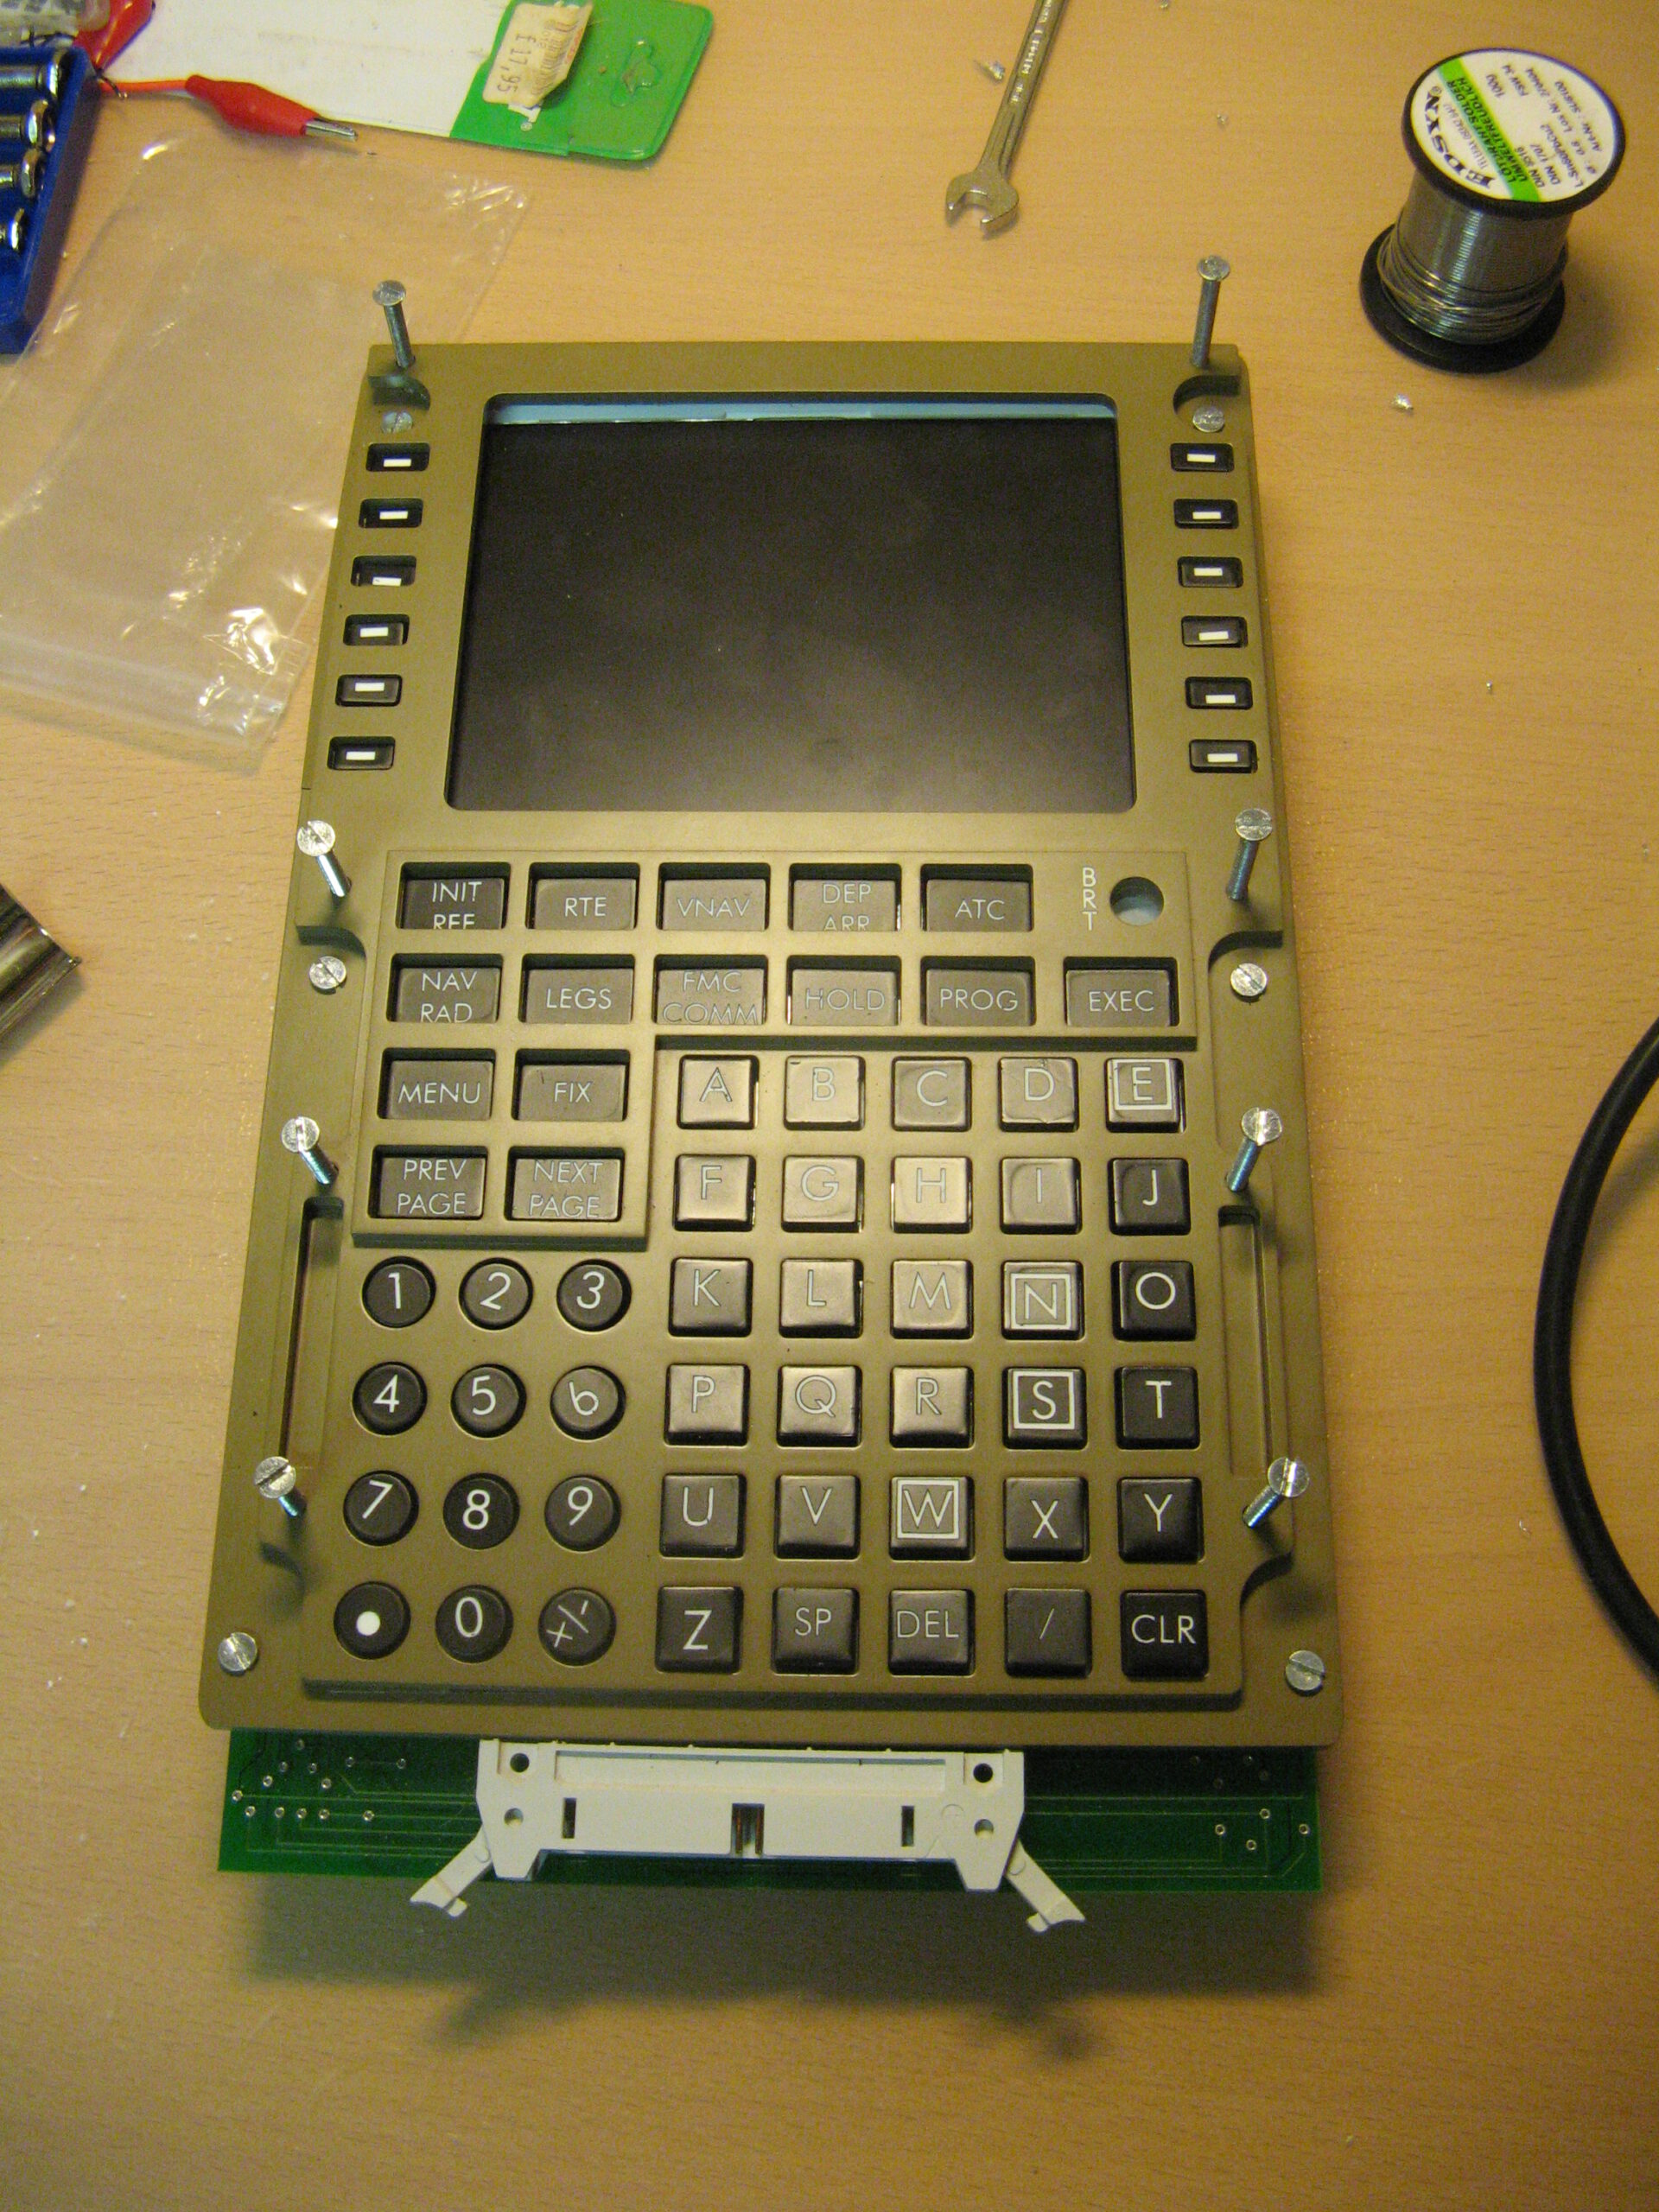

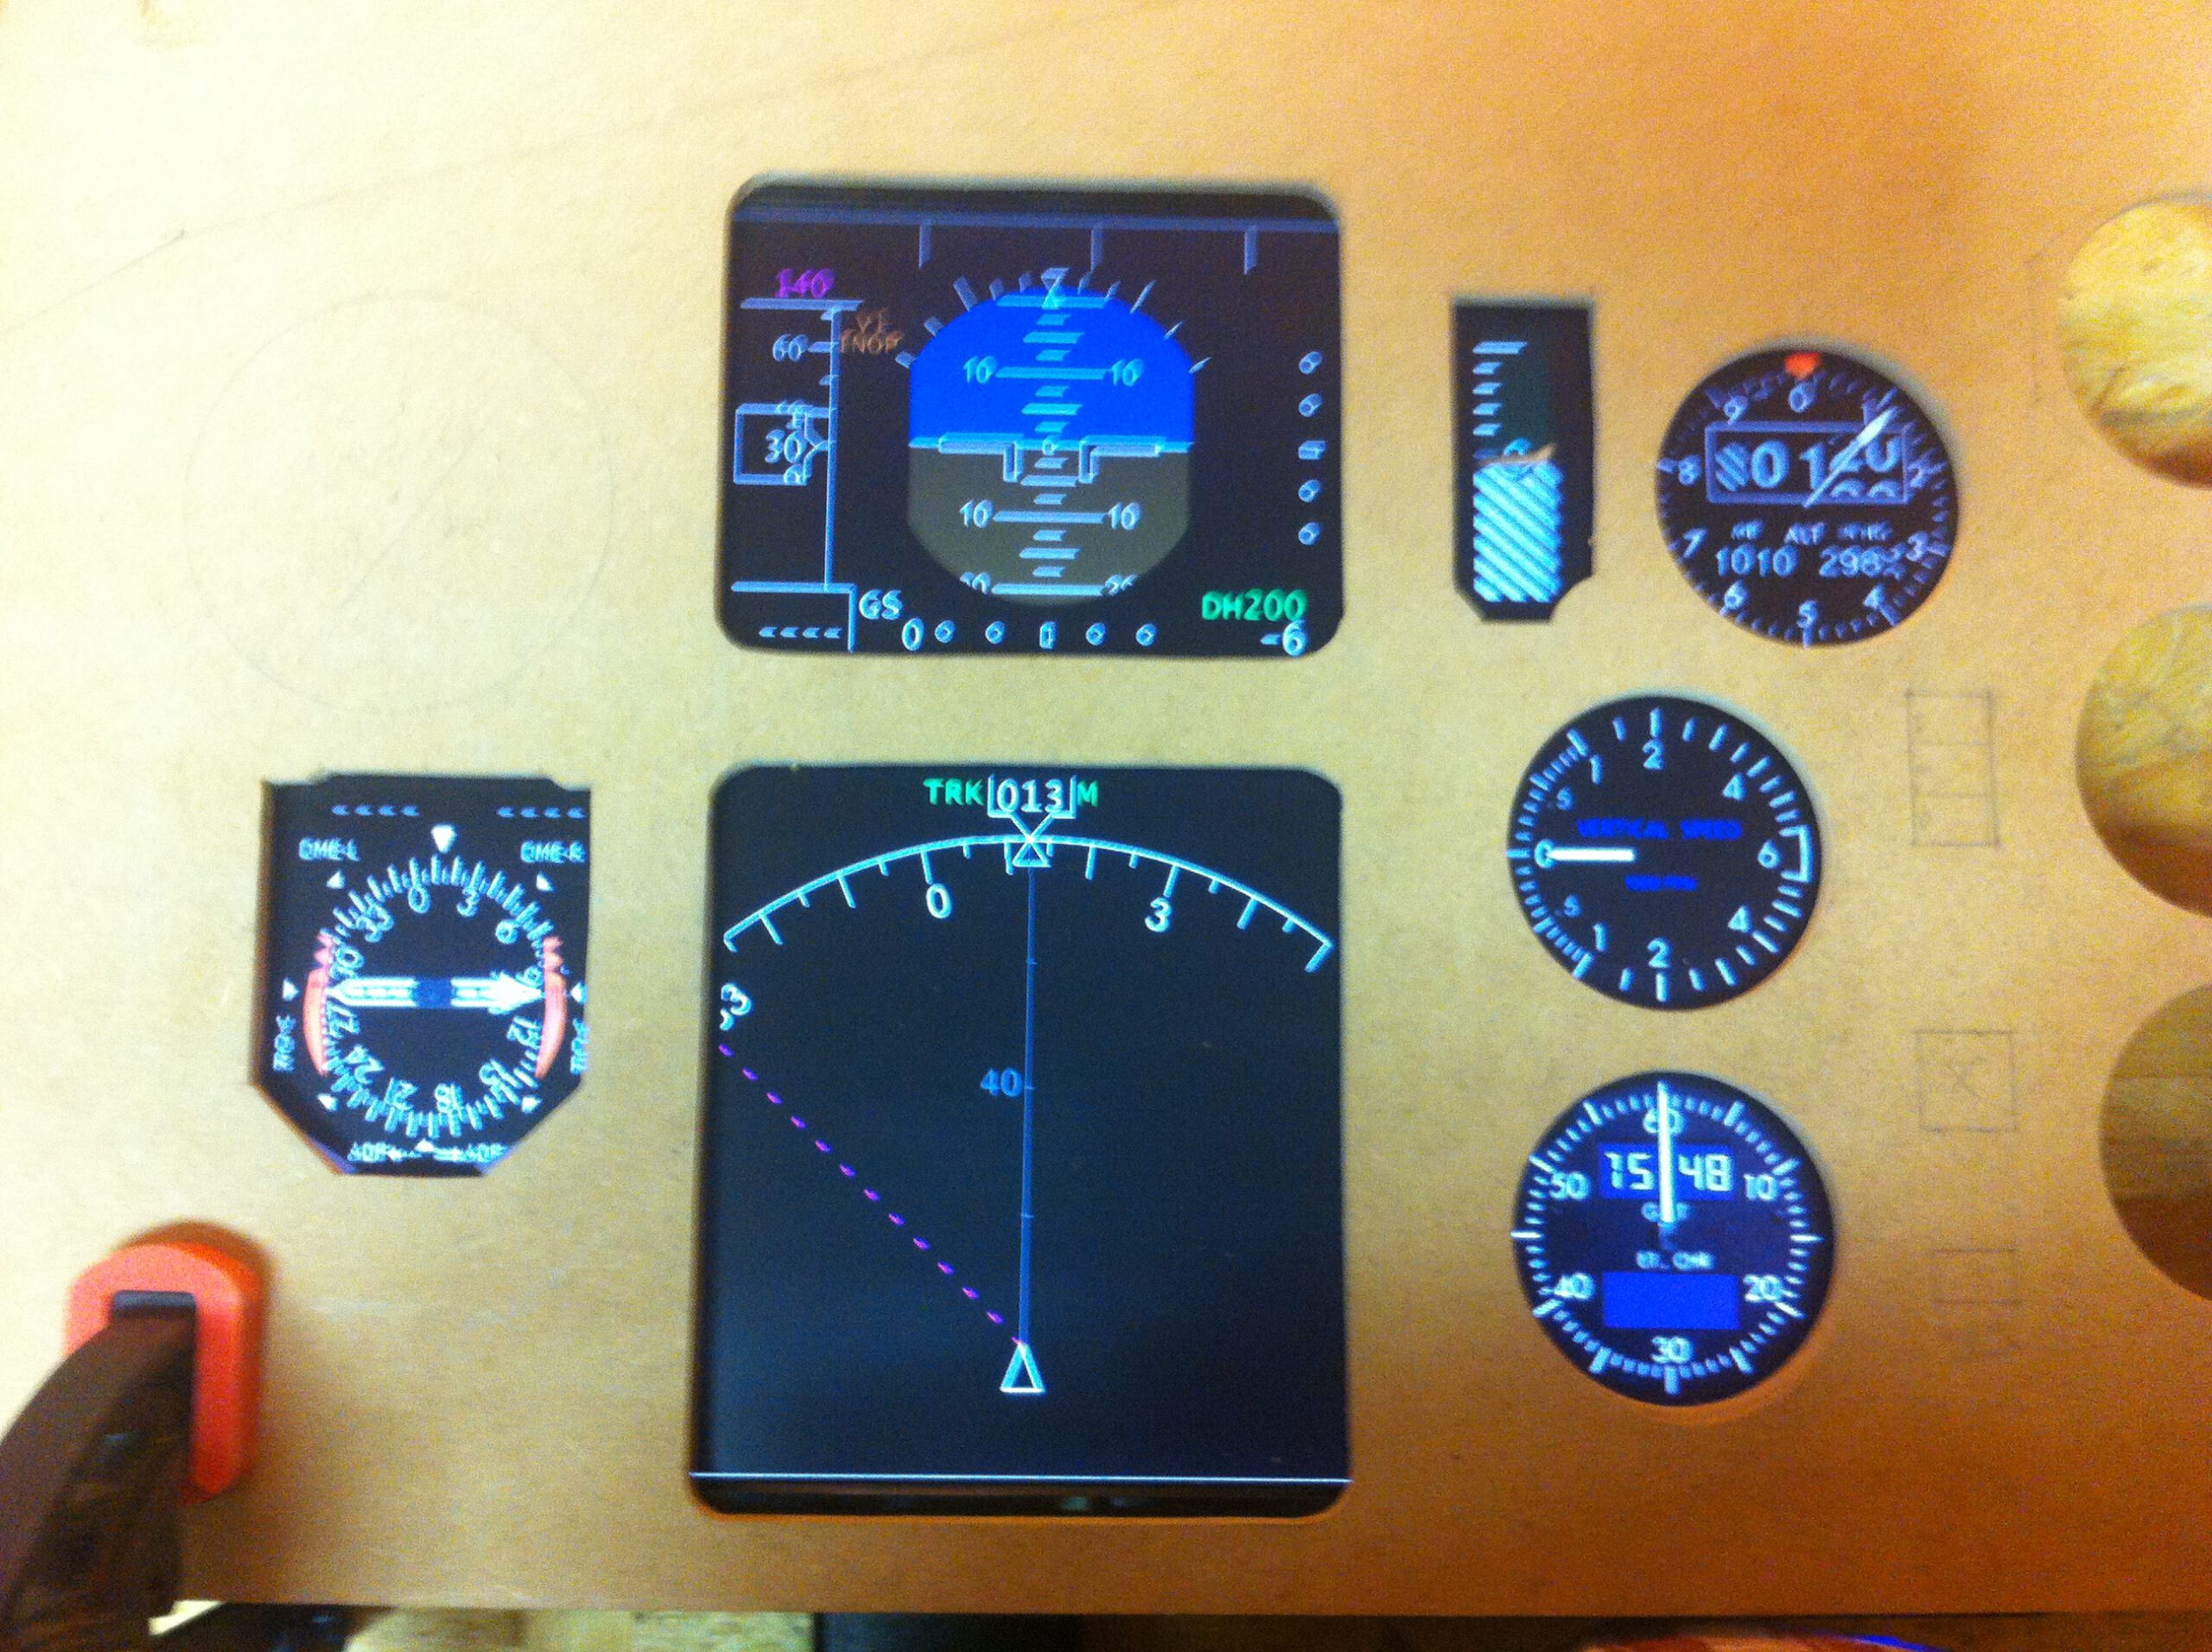
Only for the FMC did I buy a panel from Open Cockpits, because all those buttons looked like a lot of work. In Australia I found a circuit board from an Airbus CDU that fit perfectly behind this panel. For the screen of the FMC I then used a screen from the well-known game computer PS-One.


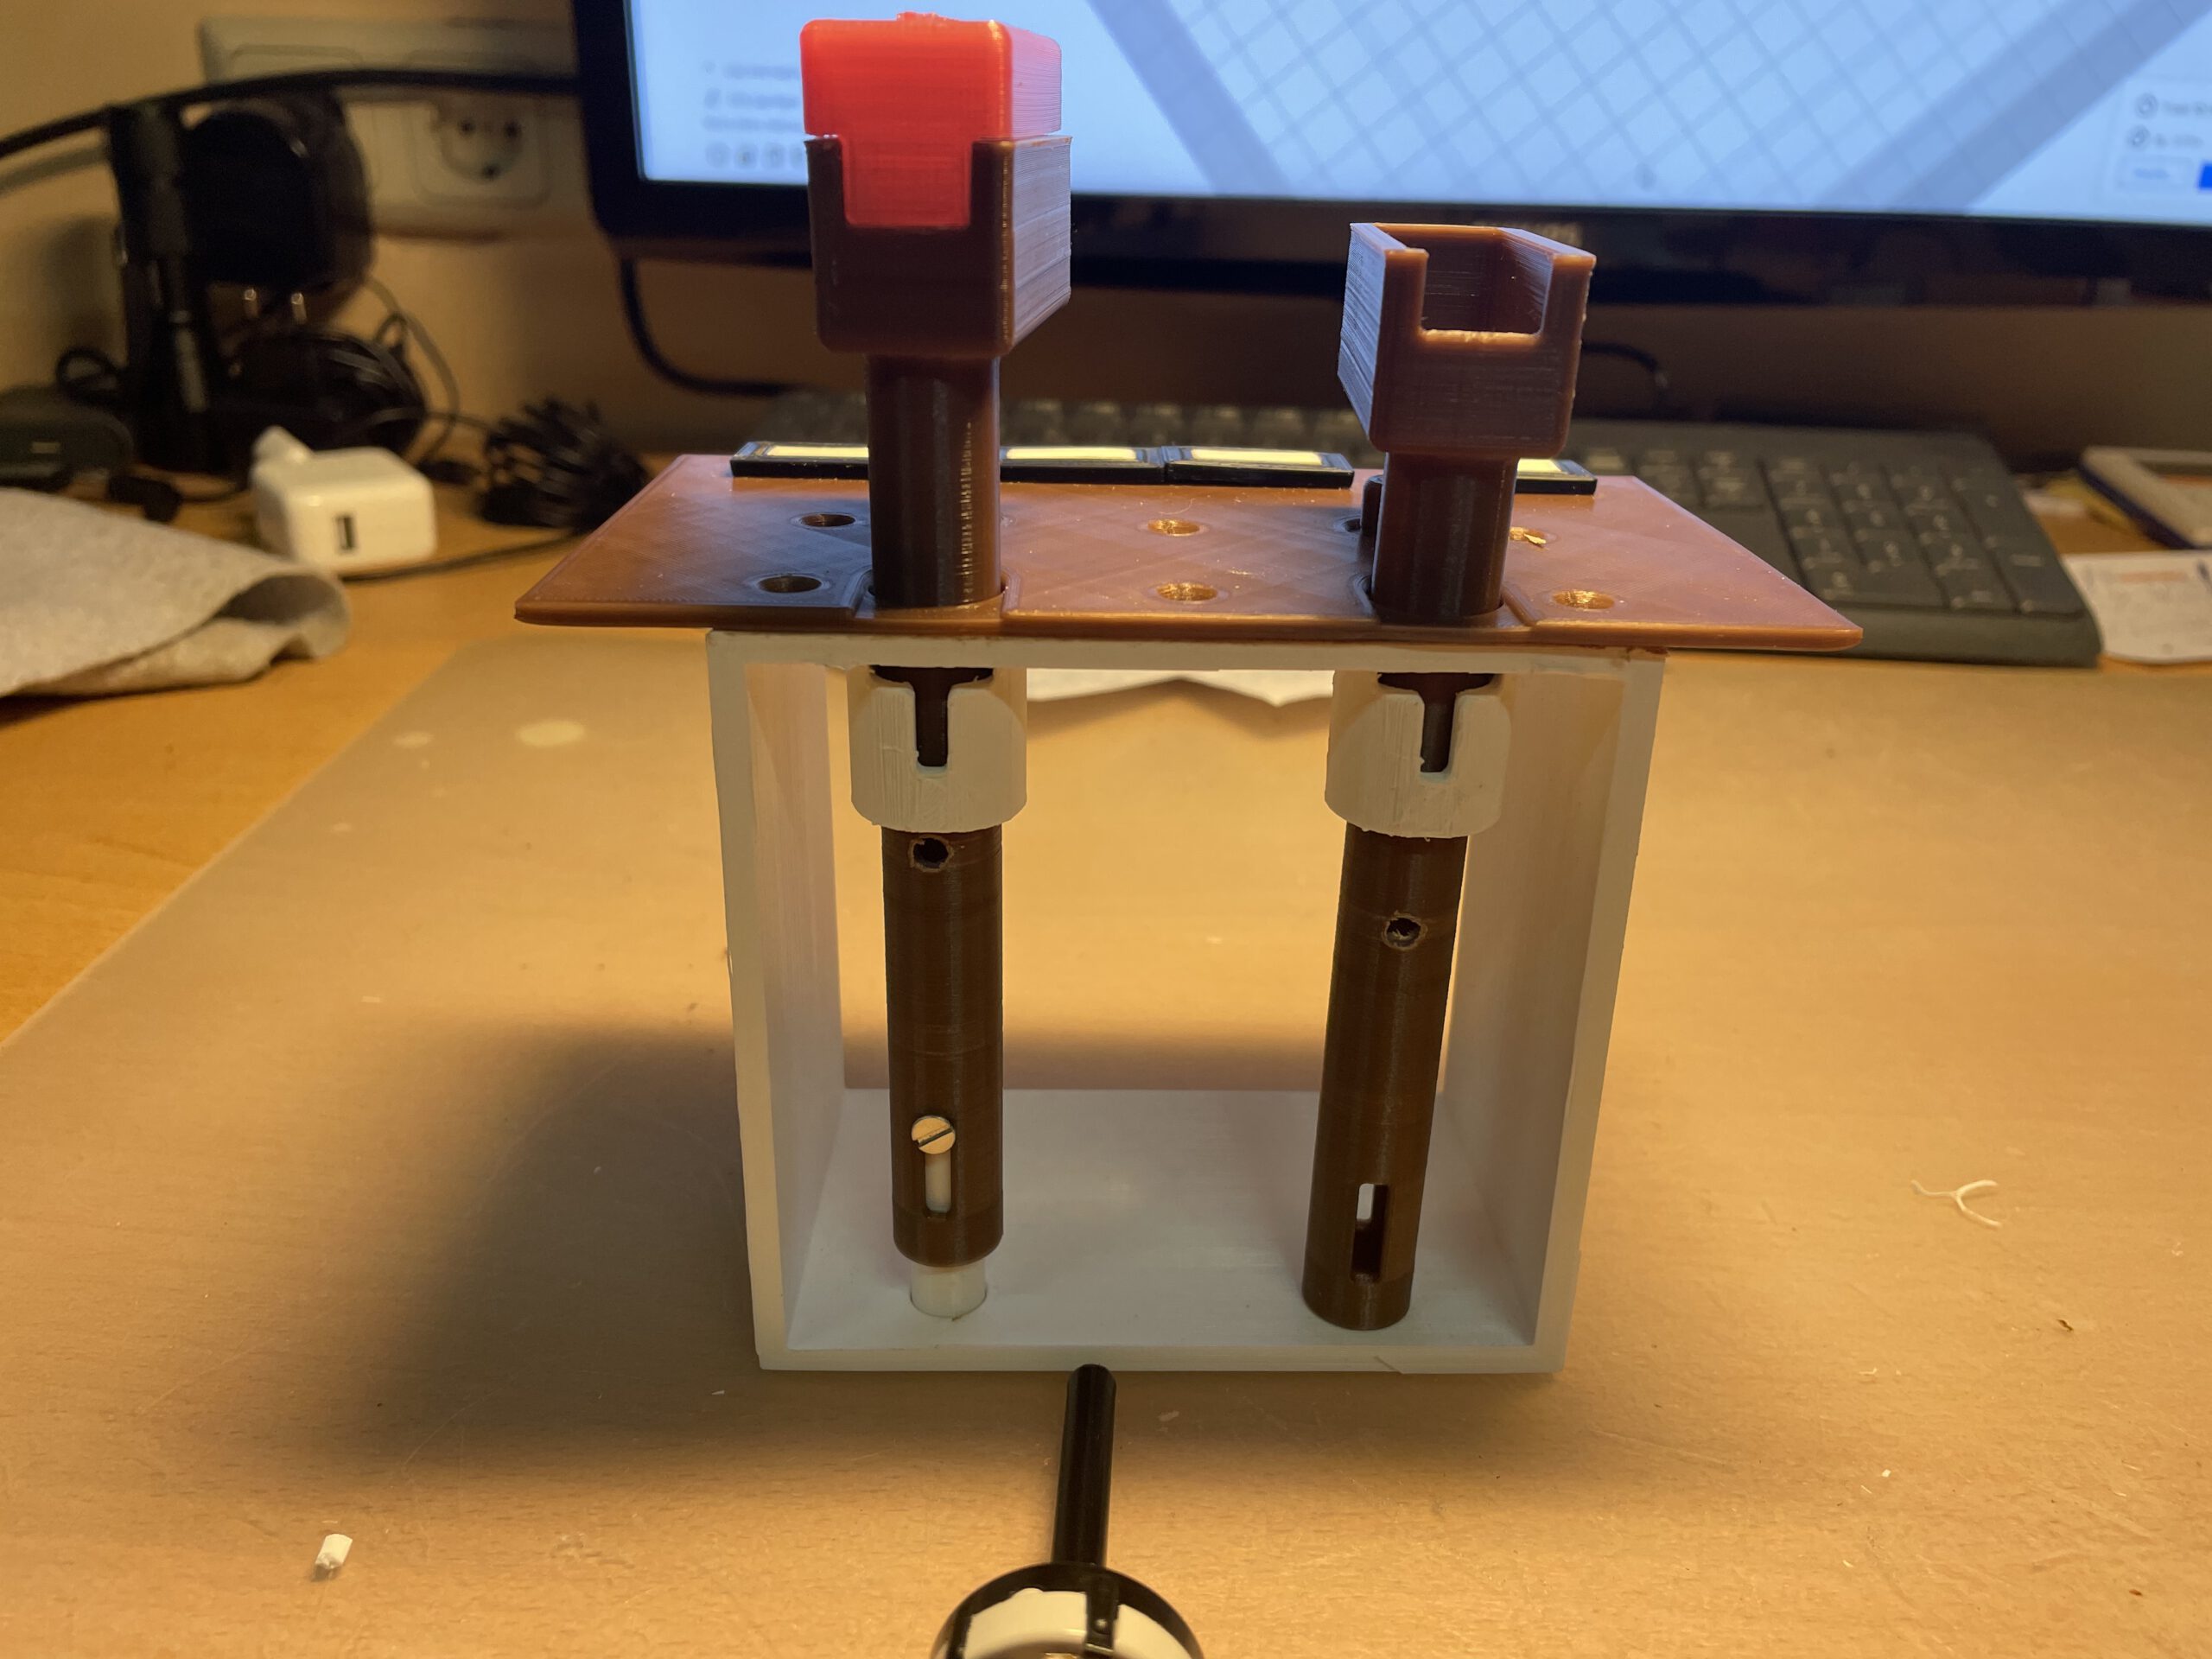
In 2018 I bought my first 3D printer, an Anet A8, which I replaced in 2021 with a Crealty Ender 3. With the arrival of the 3D printer, I started to study drawing in 3D. Initially with Google Sketchup and later in the much more professional Fusion 360. This went well for me and made me decide to make everything with the 3D printer from now on. This works a lot faster and the result looks much nicer. Coincidentally, at some point I came across Karl Clarke’s site (www.737diysim.com) and saw that he had already drawn a full throttle quadrant for the 757/767 in Fusion 360. Why would you design something yourself if someone else has already done it, so I bought the files from Karl. And it must be said, it is a super design. All credits to Karl.

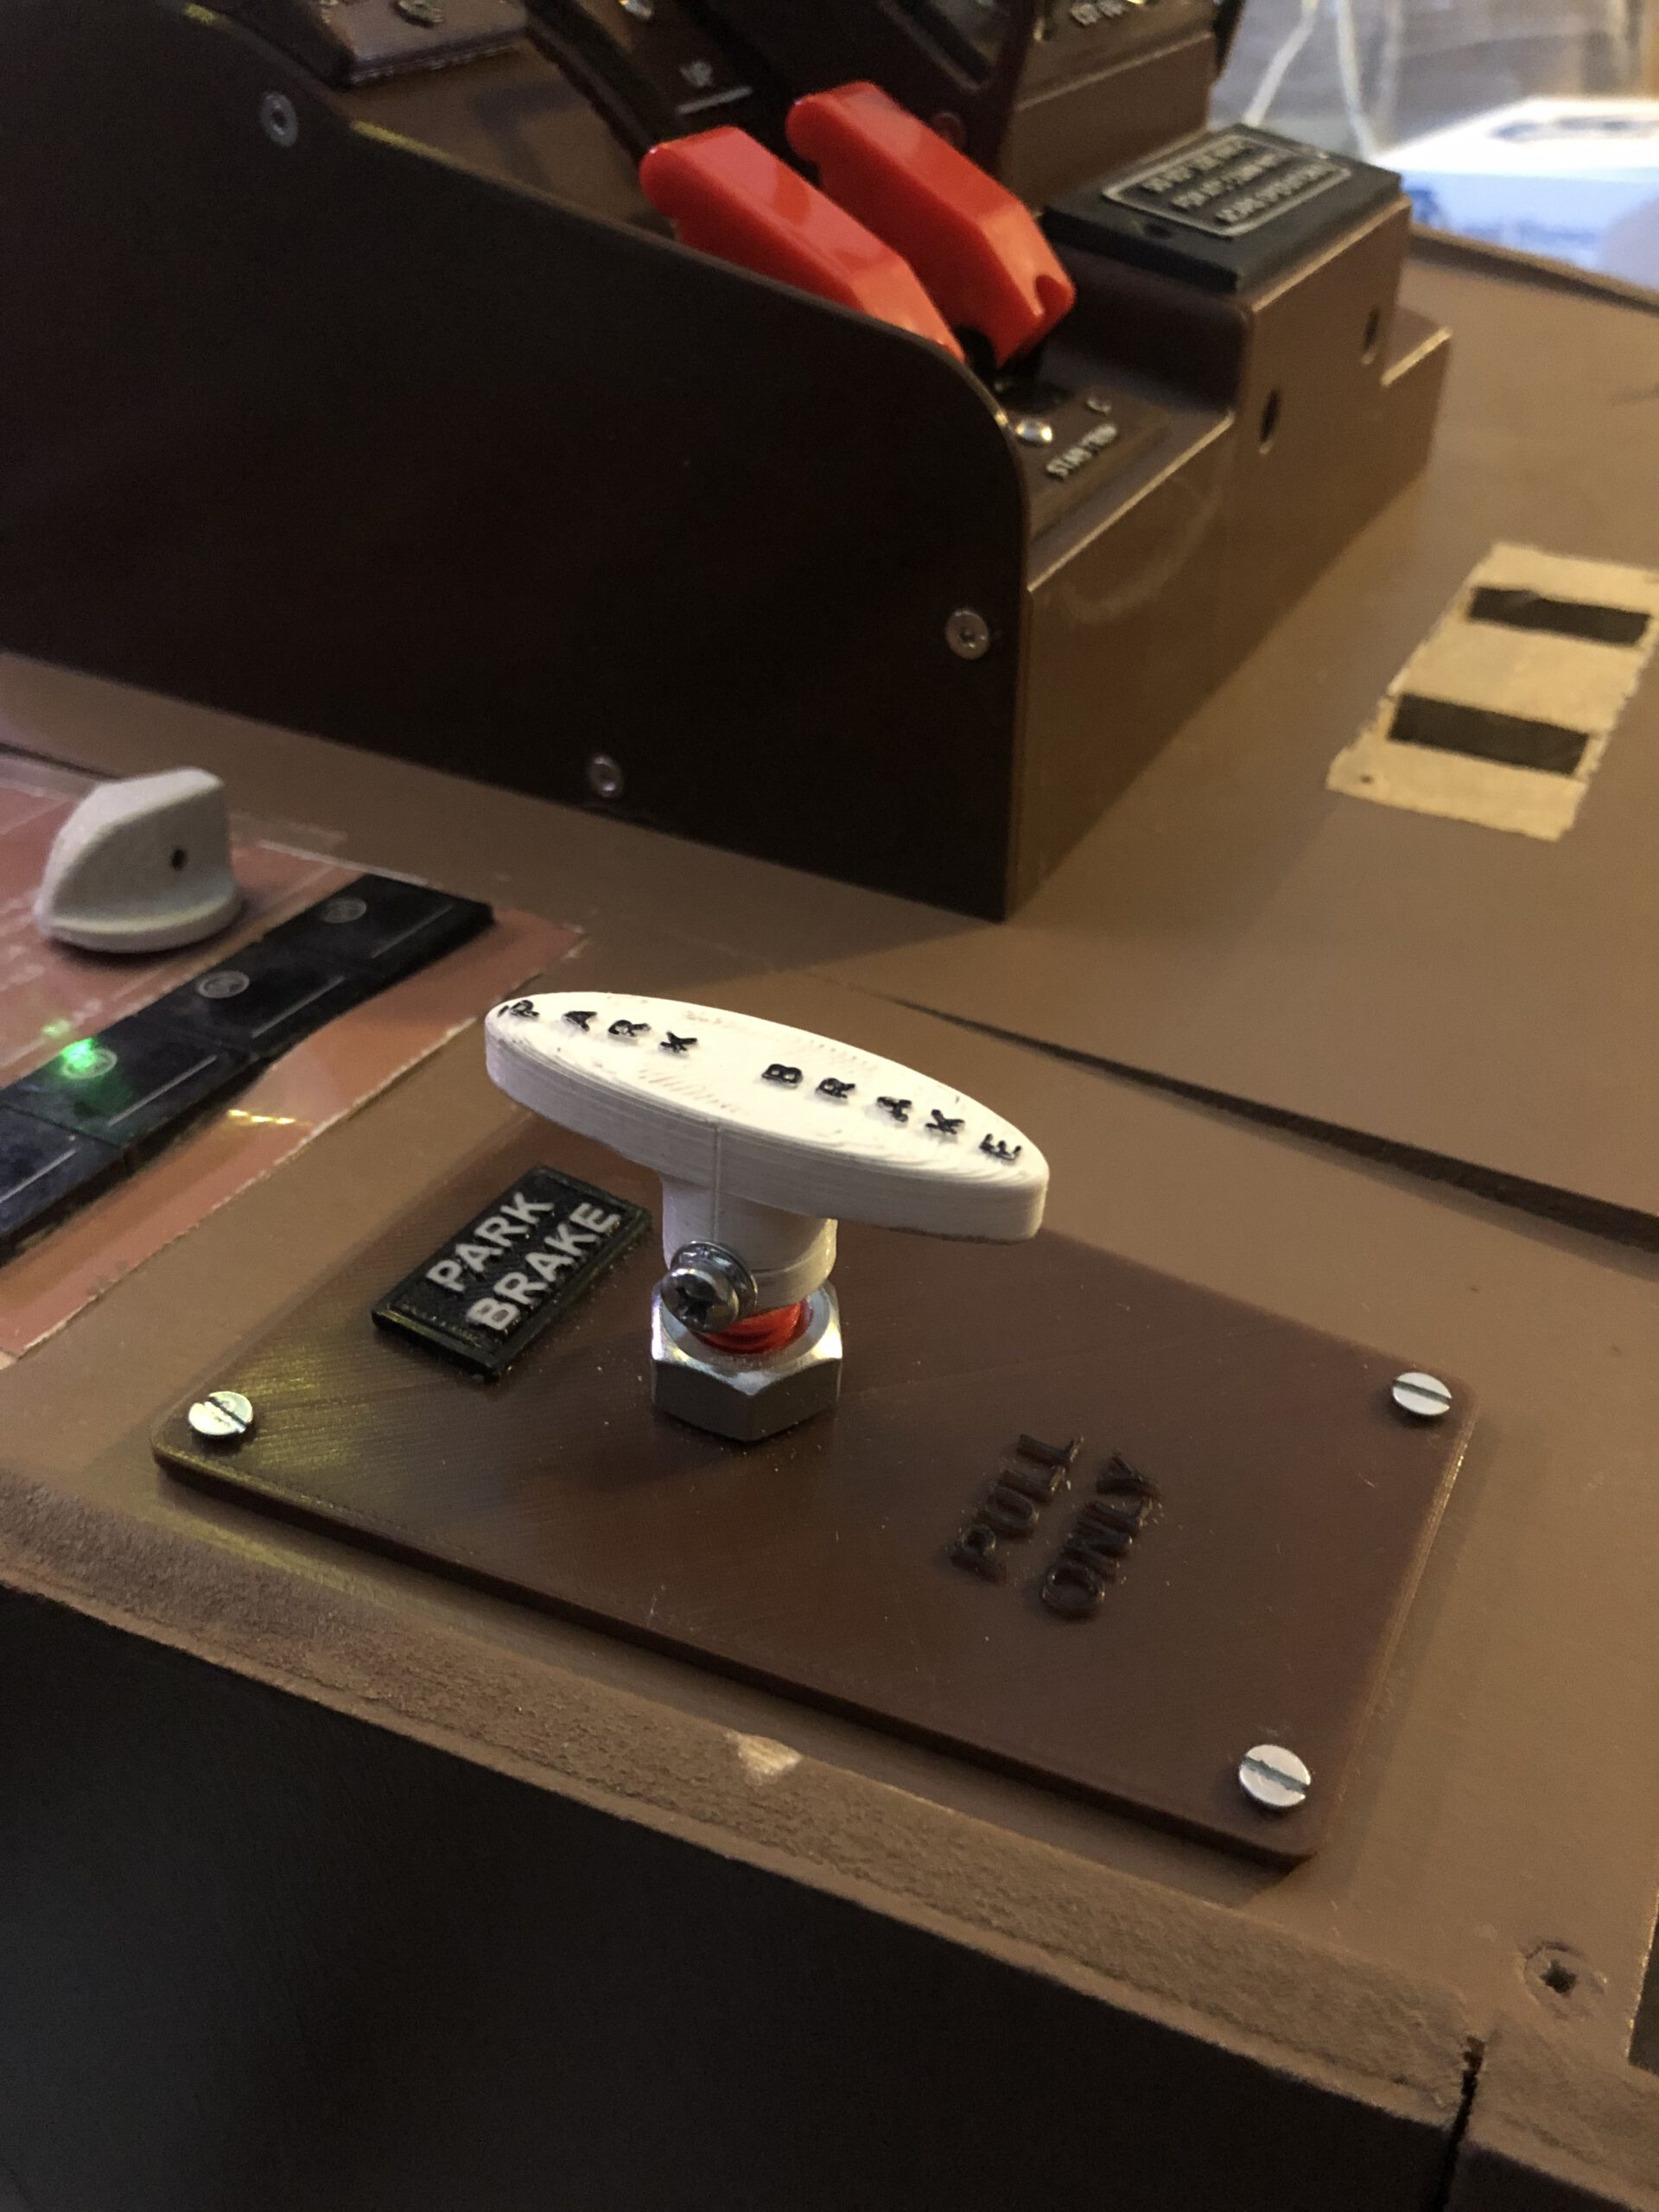
I have already made a number of my own designs, including the parking brake and, fire extinguisher and the steering tiller, but also some panels. I have published these designs on various Facebook pages and more and more often I was asked if I would like to share the files. That finally made me decide to make this site. So that there is a place from where everyone can download the files. I make these files purely for my own use and so that they fit in my own cockpit, but with the Fusion 360 files anyone who wants to can adapt them to their own liking. For that reason I do not offer the files for sale. However, drawing takes a lot of time and maintaining this site also costs money. So that’s why I would really appreciate it if you make a donation if you want to use the files and you will find a button on many pages to donate via Paypal.


Finally, what are the plans? I don’t have a real overhead in my cockpit yet. I do already have a number of panels that should actually be there. I now plan to draw all the panels that are in the overhead in the near future. Initially without the electronics behind it, but really only the front panels, so that I have a full overhead as quickly as possible. Only when that is finished will I start building the electronics in it. Of course I will also post the finished panels on this site.